Wednesday 9 September 2020

Roll Bars Part 6

 After much debate on what to fill the bars with went for the original idea of foam like everyone else ,Found some high density expanding foam from screwfix ( other brands available !!!) and used that . 

first wet the roll bars and then discovered that the tube is not linked at the weld so needed to fill that bar separately .

Used an extension tube on the foam to make sure we got all the tube filled ,sorry no pics as such a messy job .then put the bolts back in to protect the threads .


Once this had dried is was back in the car again to check the final fit in order to gat the bars to sit parallel had to place 2 washers under the rear bar on the left hand side .

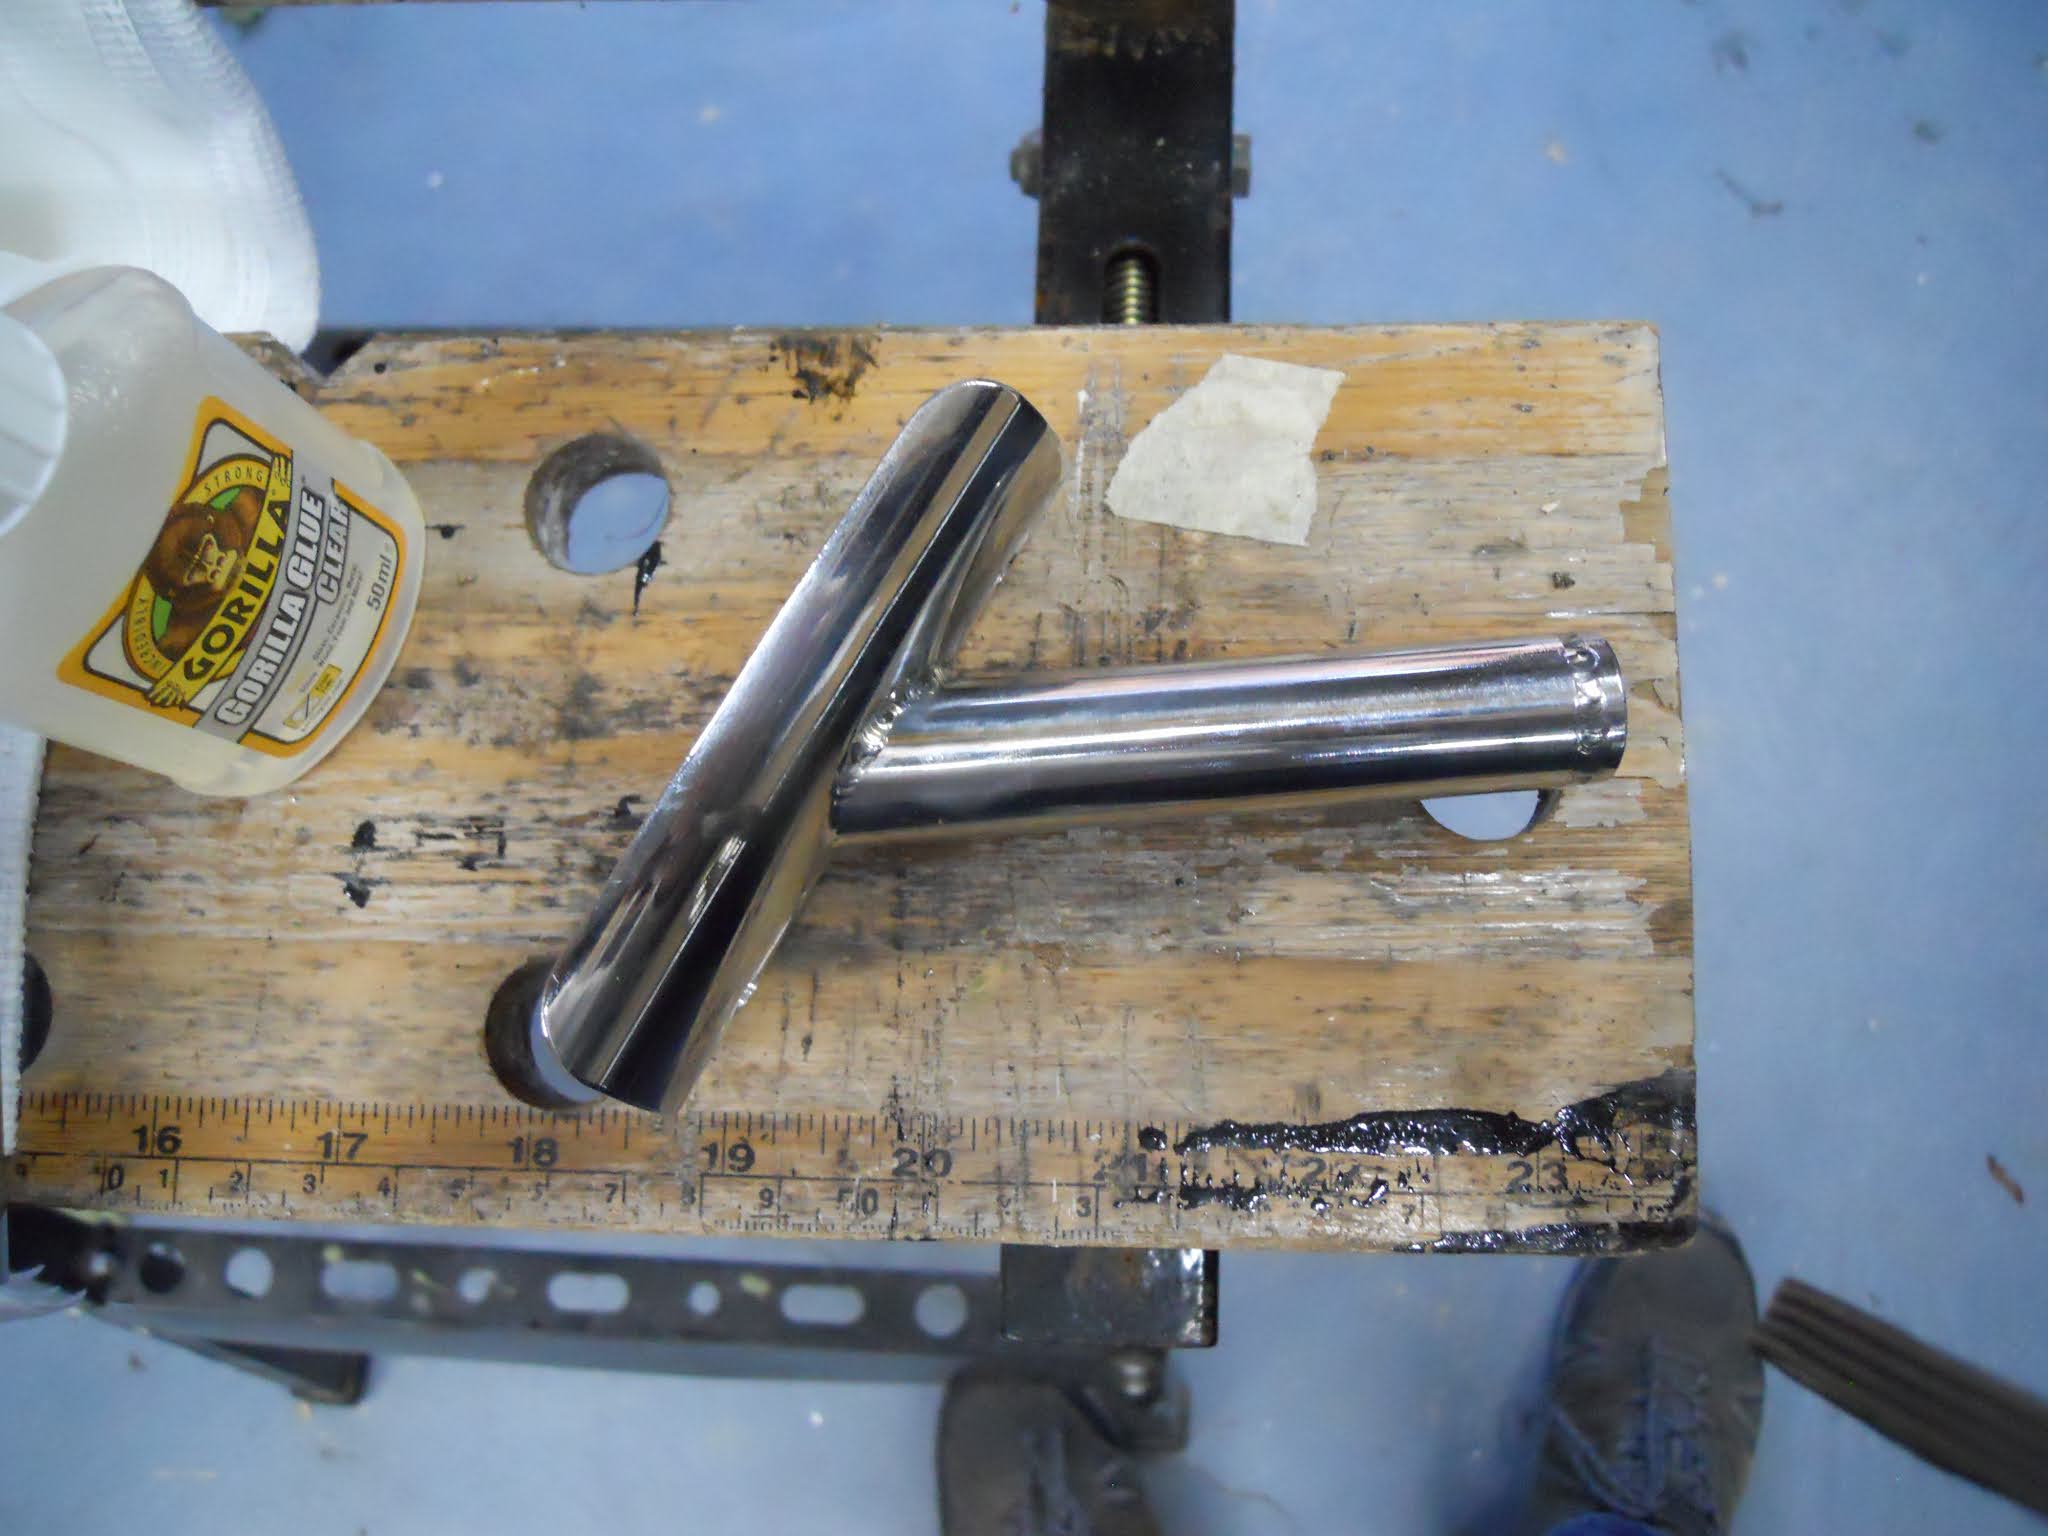
I have opted for the single head rest support which needs to be drilled in the rear downpipe .


using a piece of string we were able to find the mid point so the head rest would look central.
Drilling them was an absolute nightmare ,Tried my cheap drill first unsurprisingly no luck .closely followed by the drills I bought at Stoneleigh again with limited success,then after much abuse from Steve he arrived with his "decent drills" and sorted .


 happy with that but unfortunately managed to scratch the top of the roll bars, so needed to take them out again to be re polished, Huge thank you to John at Alpha circle (Grimsby)  for sorting them out for me ,   

and so 

 its on to fitting the rubber seals and cover plates .

The outside cover plate needs bending to follow the contour of the car and after  much thought bending it round a scaffold tube seems to work the best ( need to remember to bend it first before drilling the 4 mm hole to secure it other wise the ring will kink on the hole. 


bent and ready to be bolted down .

Monday 15 June 2020

Dashboard Part 6

After labeling the wires it still just seemed like a maze.
Set to and started at the hazard switch end.
Needed  the technical files section for the wiring diagram from the GD disc then hoped the rest would sort of  fall into place .
I have a key switch separate from the steering column and the  hazard switch were Andy at GD puts his so guessed  the wiring would reflect this.  
Key switch and hazard switch as a starting point 

Hazard switch wired and connectors for the stalks  

Next was to tackle the switches I noticed there was a cut out at the top and I didn't want to see that so mounted the switches upside down
The cut can just be seen 

I then had to sort out the wiring as the light switch and the heater switch are both 2 position but the side lights to stay on when headlights are selected .
sorted this out with my meter and came up with
connections for the switch upside down 
Will require a link wire between 1 and 2 
once the switches were done most of the wires dropped into place ,I had a couple of issues  first is the illumination of the start button I needed to be the oil pressure wire so had to lengthen  that ,
Some of the gauges didn't have the terminals marked up so used a 12volt source to check and at the same time checked all the lamps (and found the start button doesn't light up )
 and I had no wiring diagram for the speedo or tacho in the box . the tacho was straight forward once I looked on the web but the speedo is not so easy -email to Andy then .

Starting Again

Who would have thought that half way though March our world would turn upside down ?Still cant believe it ,
The whole car building process just got put on hold with all the other things going on but now can finally get  a bit of time back on the car .
Fitting the battery seemed to be an easy  next step
Didn't like the bracket idea as less holes in the bulkhead seemed to be the way forward to me  ,trip to the scrap yard and got a battery strap off a car that I think will work fine .
Battery cradle fitted with my strap secured to the back fastening  

Battery fitted  ready for cover plate to go on 

Tuesday 10 March 2020

Dashboard part 5

Next part of the dash was to cut the holes in the leather for the instruments and switches ,but first took it back to the car to make sure it still fitted and yes it did  ,again followed others blogs and cut the hole onto segments so they will fold back .
After trying various methods found the best way was to use a scalpel bought from the internet and cut the gauges into 12ths
the switches very  fiddly and cut them into 8ths as well as multiple cuts to my finger.

cutting leather  with scalpel and hopefully not the floor  
Once this was all cut out tried all the gauges in to make sure that they would still fit and found that the indicator lamps would not go in ,gingerly use of the dremmel sorted this and pushed all the lights and gauges in .
I then applied glue to the segments and stuck those to the back of the dash.
segments glues
Had to push the switches in from the wrong side to make the segments stick and then hopefully will be able to put them in the right way .
well pleased and going for the rev counter on the drivers side

Throtle Cut out part 2

Needed to tidy the cut out as the carpets will be going in soon.
Seems an absolute age since I cut it out and got told off by Andy at GD for doing so .
So please be warned he does not agree with cutting this out nor is he very happy when he finds out but as I have already done it and got told off I figured I will stick with it
cut out from last year with the 2 throttle body screws
 I removed the pedal gear after we had set the throttle up in order to figure out were the carpet will need cutting. before attempting my first attempt at fibre glassing.
It appears to be like everything else easy when watching someone else but doesn't seem to go as well on the day .
Put the inner skin back in the hole with resin and glass fibre  mat to take up any differences and then glassed in round the edges .
went well considering I was working one handed just waiting for it to go off so I can tidy it up .
pre clean up as still tacky


Tuesday 25 February 2020

DashBoard Part 4 and Bits

Its leather time , Was really dreading this part as it could go wrong very quick and is the focus point to the car .Started by laying the leather at the bottom and making sure that the bottom was going to fit
I glued the bottom in place and let it dry .
Next day came to the rest and started by stretching the leather up which seems to require 3 pairs of hands ,By good fortune had to leave for another task and came across a local furniture upholsterer,the conversation came round to my dash and a asked for any tips ,His reply was amazing ,bring it in and I'll do it for you. So I did and he only charged me beer money .

All my own work !!
   Another couple of little jobs tackled  was to blank off the two unused  ports on the engine .
Jubilee clip added to stop the cap falling off
Spare air box connection
This one I tapped with a 6mm tap and then stud locked a 6mm grub screw .

Also managed to finish off the heater pipes .

just grommets required

Undertray

On a recent visit to GD I noticed that one of the cars had a radiator protector fitted .
I thought it was a good idea so came home with one and the aluminium under tray. 

Ally under tray
the tray  fastens on the same bolts as the radiator so to save taking those out again I slotted the holes    when I came to try it in place it didn't fit (surprise) but because it fits in a tapper it was I case of take a bit off try it take a bit off try it etc .
the radiator protector was a similar story as in the laser cutting it warped and made marking it on to the top radiator bracket a challenge to say the least.


laser cut protector

Once in however it looks well worth the work .


The bottom is secured with 5mm bolts with washers to make up the difference but after twisting my sons arm he applied his lathe skills and made me some spacers !


Ah La Connor (thanks Son )

Tuesday 4 February 2020

Dashboard Part 3

Next stage was to cut out the foam where the gauges need to be ,read other blogs and coped the idea of using a craft knife .This worked for the gauges but did not work for the switches or lights.
Came up with the idea of heating up a screwdriver and using it as a hot knife worked a treat .
dash hole cut including the additional hole for the heated seat 

Next thought I ought to look at the dash loom expecting it to have little labels on like the engine but no such luck .
Found myself looking at the build manual technical files and found the layout schematic and had to go though each plug and group of wires to identify them separately what a pain .
spaghetti with my masking tape idents  
This raised 2 issues  the first is there was no connection for the courtesy lights on the loom ( the wires just stopped at the plug ) .
the second was that there was a sender wire for the oil pressure  gauge but my gauge is pressure driven with an oil pipe .
Following the wire back though the looms it went to the unused wire at the back of the engine .


unused white oil pressure switch wire at top of picture
    I understand why there isn't an oil light as I have a gauge but .... if its there --  bought an adapter ring from ebay (£1.00) and then pestered my local motor dealers for an oil pressure switch to fit it ,result eventually and a huge thank you to Parkers (the parts people) ,switch that fitted  was from a Chevrolet Matiz( part number SOB807).

oil pressure take off with adaptor and pressure switch


   My idea now is to wire this in on the dash to the illumination on the start button ,my thinking behind this is when the ignition is on the start button will light up and go off when the engine starts .


Heater

Realised that after I had installed the heater there is another wire to go though the bulkhead to fasten on the battery It is the feed wire foe the ECU and fuel pump .
I was never totally happy with the heater pipe anyway as it seemed a bit tight in the hole and had the potential to wear though and empty the coolant so out it came to make the holes bigger .

Heater removed and holes made bigger
At the same time I noticed that the positive cable was not long enough to fit on the terminal and still look neat ,this was because I had routed it clear of the exhaust  .My solution was to fit a Battery isolating switch this comes with a removable key should I feel the need .

Battery switch fitted  and cable looks better


At the same time I thought it would be a good idea to have isolating valves on the heater circuit in case of a leak and also if I ever wanted the heater to blow cool air ( unlikely I know ) so ordered to valves from car builder solutions and happy with the fit.
the valves  have a flow arrow on so one is the wrong way round
which I will turn when I figure out which is the return pipe


Monday 27 January 2020

Dash board part 2

after cutting 2 holes out for the heated seat switches thought better start with the Dash board .
Haven't been looking forward to this but cant put it off any more . .First I mounted the dash with the 5mm screws to make sure it still fits and then removed the screw one at a time to epoxy them in place .Once this had dried removed the dash and laid it next to the foam .Reading other blogs they glued the netting side of the foam to the dash so I copied that and seemed to work fine .
I made sure that the foam doesn't come round at the bottom but overlaps at the top as other builders.
Happy with the result so far will let it dry now before cutting out the holes .
Spray glue applied and lined p with the bottom captive bolts can be seen
This bits gone well


NumberPlate bar

Was told it would be easier to fit this bar before the body went on and then promptly forgot .
Again very difficult to try and get a measurement so opted for  the string between the 2 indicators .


string as a level
and then it was just a case of making it the same distance from the front .
Happy

Saturday 25 January 2020

Bonnet Gas struts

Fitted the bottom bracket in line with the cross member underneath the car as it was an easy way to get them the same distance from the front as finding a place to measure anything is a challenge in itself
Bottom bracket bolted in place

 then I marked were the gas strut would come to on the bonnet in its retracted position added 10mm and that is were I will but the top bracket .
All the marks made sense at the time
 then it was just a simple transfer to drill the top bracket
Fitted

I was told by Andy at GD to put one ram on ad let the gas out until the bonnet just wont stay up and that should be right when I do the same to the other one , but tats for another day


Wednesday 22 January 2020

Horn

I was always going to fit air horns like most other cobra builders but also wanted to be able to use the horn at times with people dying of shock .Guessing that there will be a delay before the air horn starts hit upon the idea of having a smaller horn as well so just a blip would only sound the little one . only time will tell if this works .

Stobel Air horn ready to be fitted

Little horn fitted under the header tank
Plan to put the Air horn relay on one of the 2 spare rivnuts  in the picture

Tuesday 7 January 2020

Radiator and Airbox

the Air box just jams in above the radiator and s held in place with the radiator bracket.
First fitted the air box and secured it in place with the top radiator bracket and found that it rattles which is no good took it down and placed draught excluding foam on the top ( sorry no picture ) and then refitted it with no rattle ..
when I came to fit the radiator I found that the fan housing was catching the air box and wouldn't fit .
solution was to move the air box towards the back of the car as there is a cut out that has to line up with the fan .
At the bottom of the rad I inserted some rubber sheet to make sure that didn't rattle either .

Air box fitted with foam rubber just visible
 

Once the radiator was fasten down could fit the pipework .
rad fan now clears the air box pipework