Showing posts with label Fuel. Show all posts

Saturday 15 January 2022

Fuel Bleeding and leak checking

 After looking at Dales blog realized  that bleeding the fuel and also flushing the pipes was a sensible idea  so made a fused wire to go from the battery to the fuel pump and released the pipe from the engine ( avoid using the bleed screw on the fuel rail as any dirt may affect the seal  started the fuel pump to bleed the system .

I was amazed at just how much fuel coms out the pipe the pump was only running for a short time and my container was full .

re attached the pipe and pleased to say no leaks . 

Saturday 1 May 2021

Bits and Bobs

Bonnet 

 Fitting the Bonnet catches next again measured on a recent trip to GD and using the wiper arms as a reference marked the bonnet and made sure both sides were the same before drilling and fitted with self tapping screws ,The bonnet is double skinned and the handles carry the weight of the bonnet so might change to button head bolts yet .


Handles fitted 

Moving into the engine bay marked a parallel line from the catch and measured down 25mm and that was the first hole for the catch , then made sure that the catch followed the curve of the body ,fastened with button heads.

drivers side fitted 

Moving on to the transmission tunnel needed to fit the gear cover ring again had to be careful not to snag the carpet so went for drilling backwards which seemed to work .

Like button heads better than the usual self tappers 


Fuel Tank 

Needed to fit the fuel flex pipe as not long away from needing fuel .Had already taken the tank to have a earth stud welded on courtesy of  Mirus Engineering So after socking the pipe in hot water to make it forgiving fitted that together with an earth wire from the filler to the tank .
pipe and wire fitted ( thanks Connor ) 

Undertrays 

There are two undertrays that fit under the dash and i know its probably a complete waste of time but i have decided to fit Bluetooth speakers so needed to cut out for this and the reverse lock out button .
Drivers side cut out and sprayed ( both sides because i sprayed the wrong side first )  

Centre tray 

After fitting the center tray  could finally fit the ecu  this was not as easy as i first thought as there is not enough room when the dash is fitted to fit the ecu to the panel .I overcame this by only securing the ecu with the front screws and making sure that it was pushed back as far as it would go . now i have enough room .
ECU fitted


The pink wire hanging down needs to connect to the bared white wire above it as that is the fuel pump supply .

Wednesday 24 March 2021

Fuel tank

 fitted the Fuel tank  and it secures with 2 straps held down with self tapping screws .

Wasn't happy with all that weight  being held with self tappers so used M8 bolts 


Tank secured with 8mm bolts 

 The tank seder has 2 wires needing attached to it so used a 6mm p clip to one of the bolts and connected that 

Tank sender connected 
then on to the fuel pump this has different size connections  presumably so they will only go on one way but i had to crimp the cables so still possible to get it wrong.

the fuel pump nuts dont come with spring washers so replaced those with nylocks  remembering to put the cover on the cable before crimping . smeared with Vaseline and fitted.

fuel pump cables fitted pipes still to sort 

Friday 5 March 2021

Fuel tank

 Today decided to tackle the fuel tank ,wanted to get this in place and all the connections right before removing it to fit the boot as not sure there will be enough room for me and the fuel tank in the boot .

First job was to sound proof it to try and stop it drumming, quite an easy job with the self adessive sheets I bought.

sound proofing applied 

Also following advice from Dale took out the fuel sender and hovered out anything that might be in there to save the filter later on .
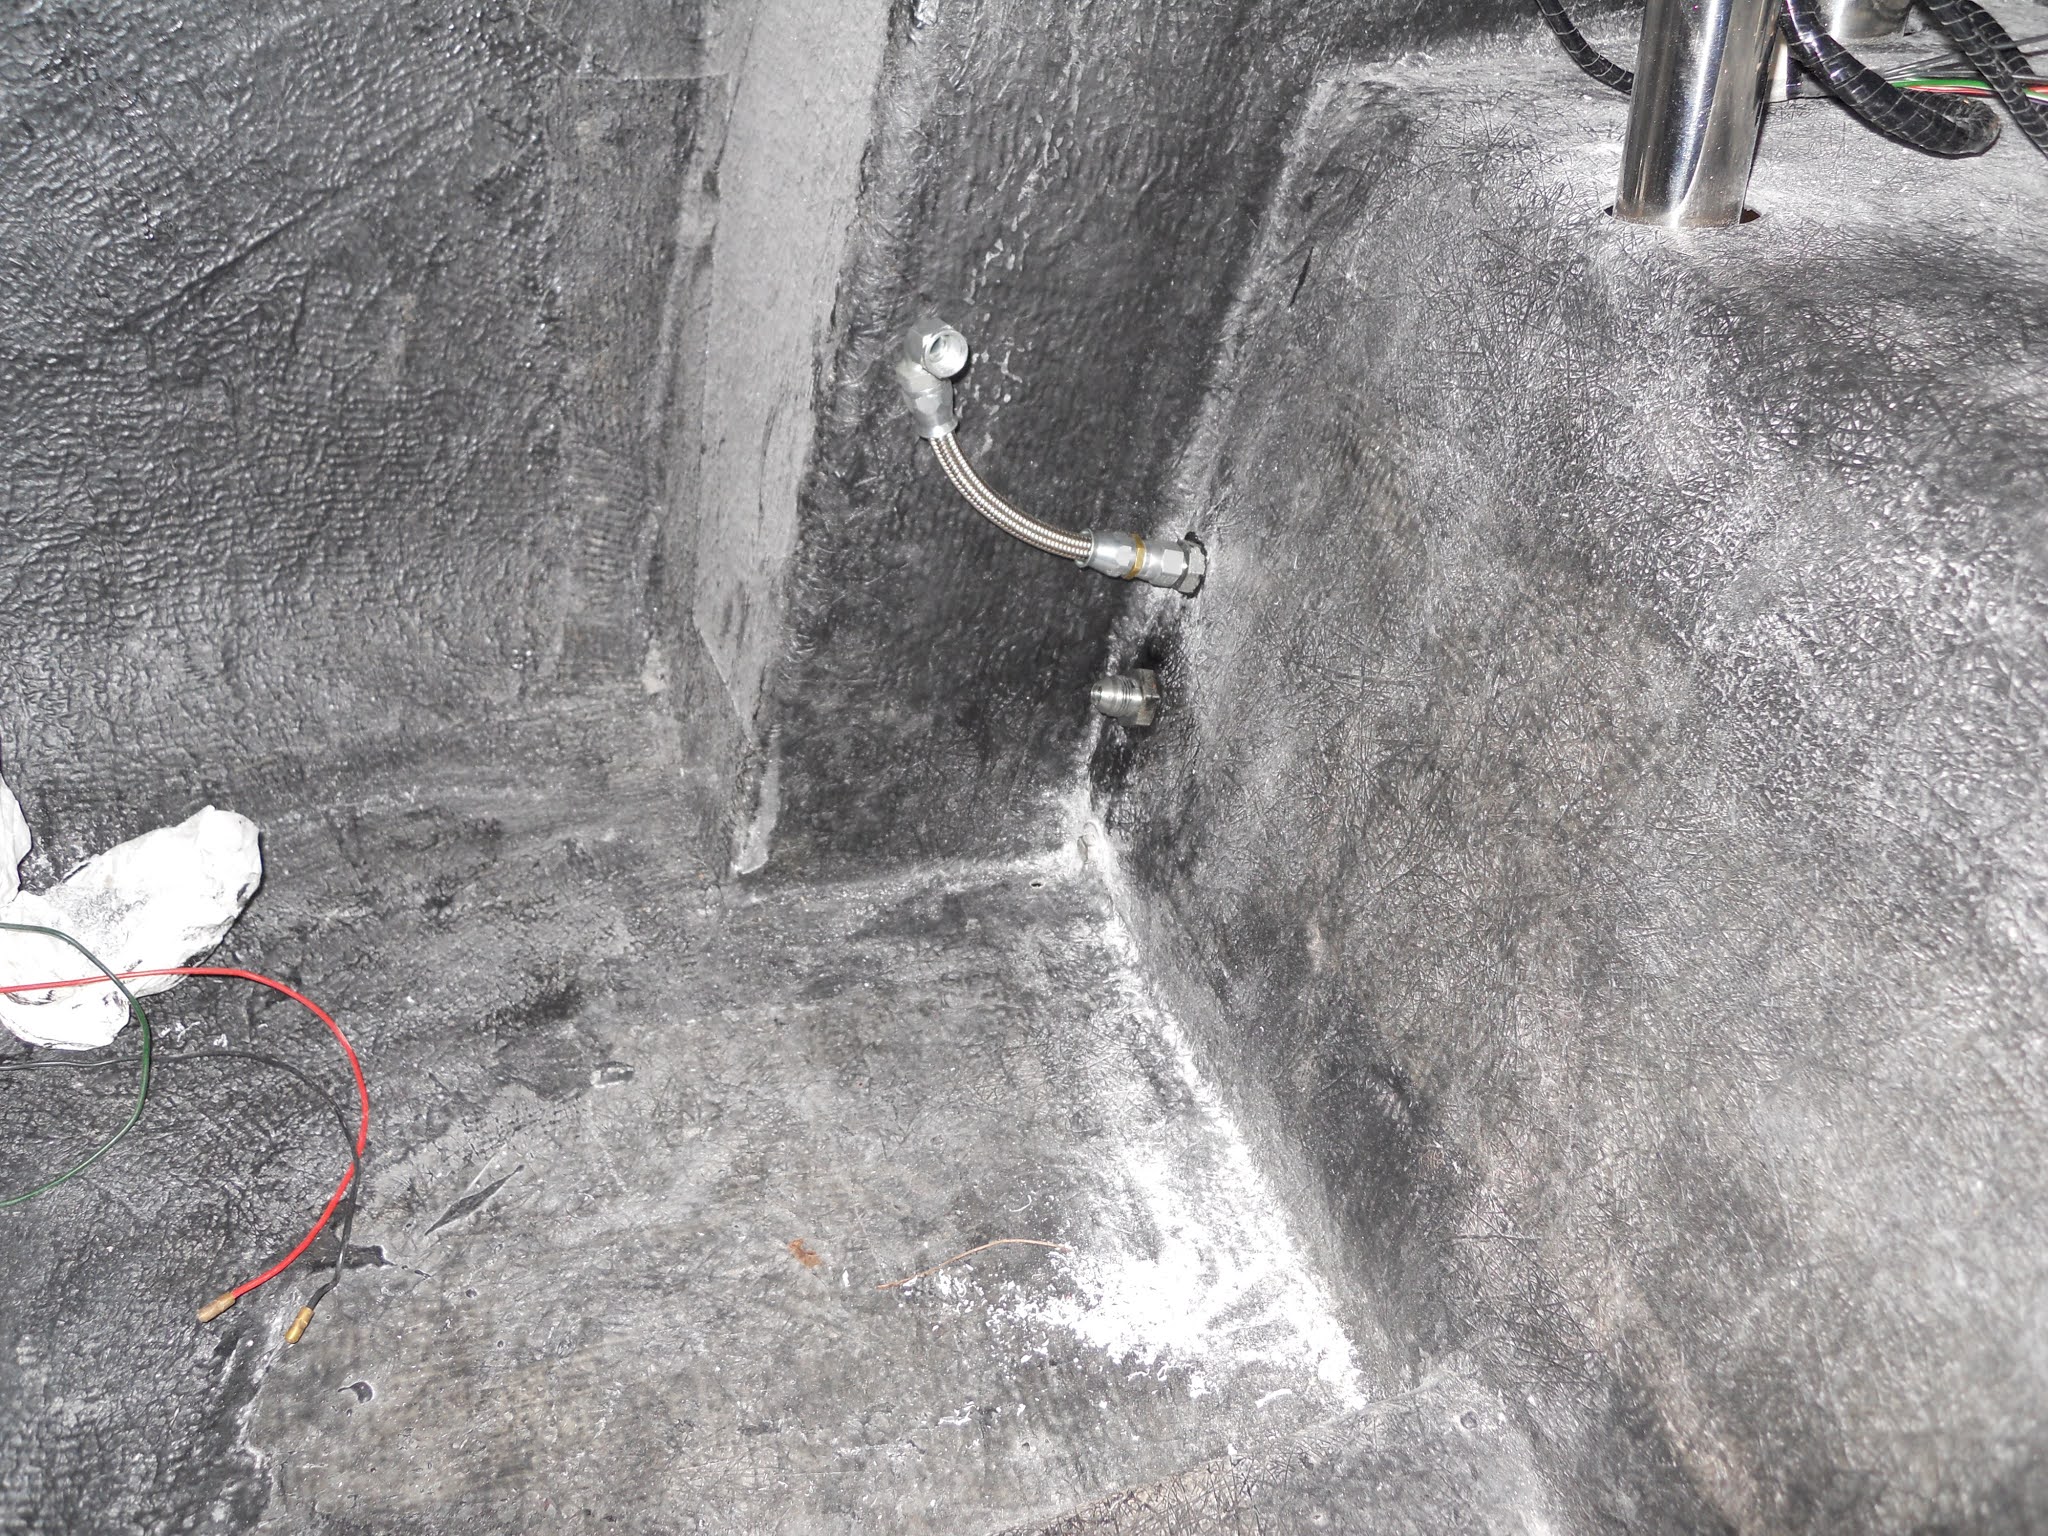
Then came the interesting bit ,trying to get the bulkhead fittings in the right place as there is not a lot of room .
2 ideas were forthcoming and as Steve's was the better idea we went with that so ... marked the center line were the pipes naturally wanted to go then removed the tank and bent the pipes to a nice curve before measuring the distance from the bottom of the tank to the center of the pipes this gave us 115mm and 180mm .drilled these holes for the bulkhead fitting ( larger one at the bottom ) 
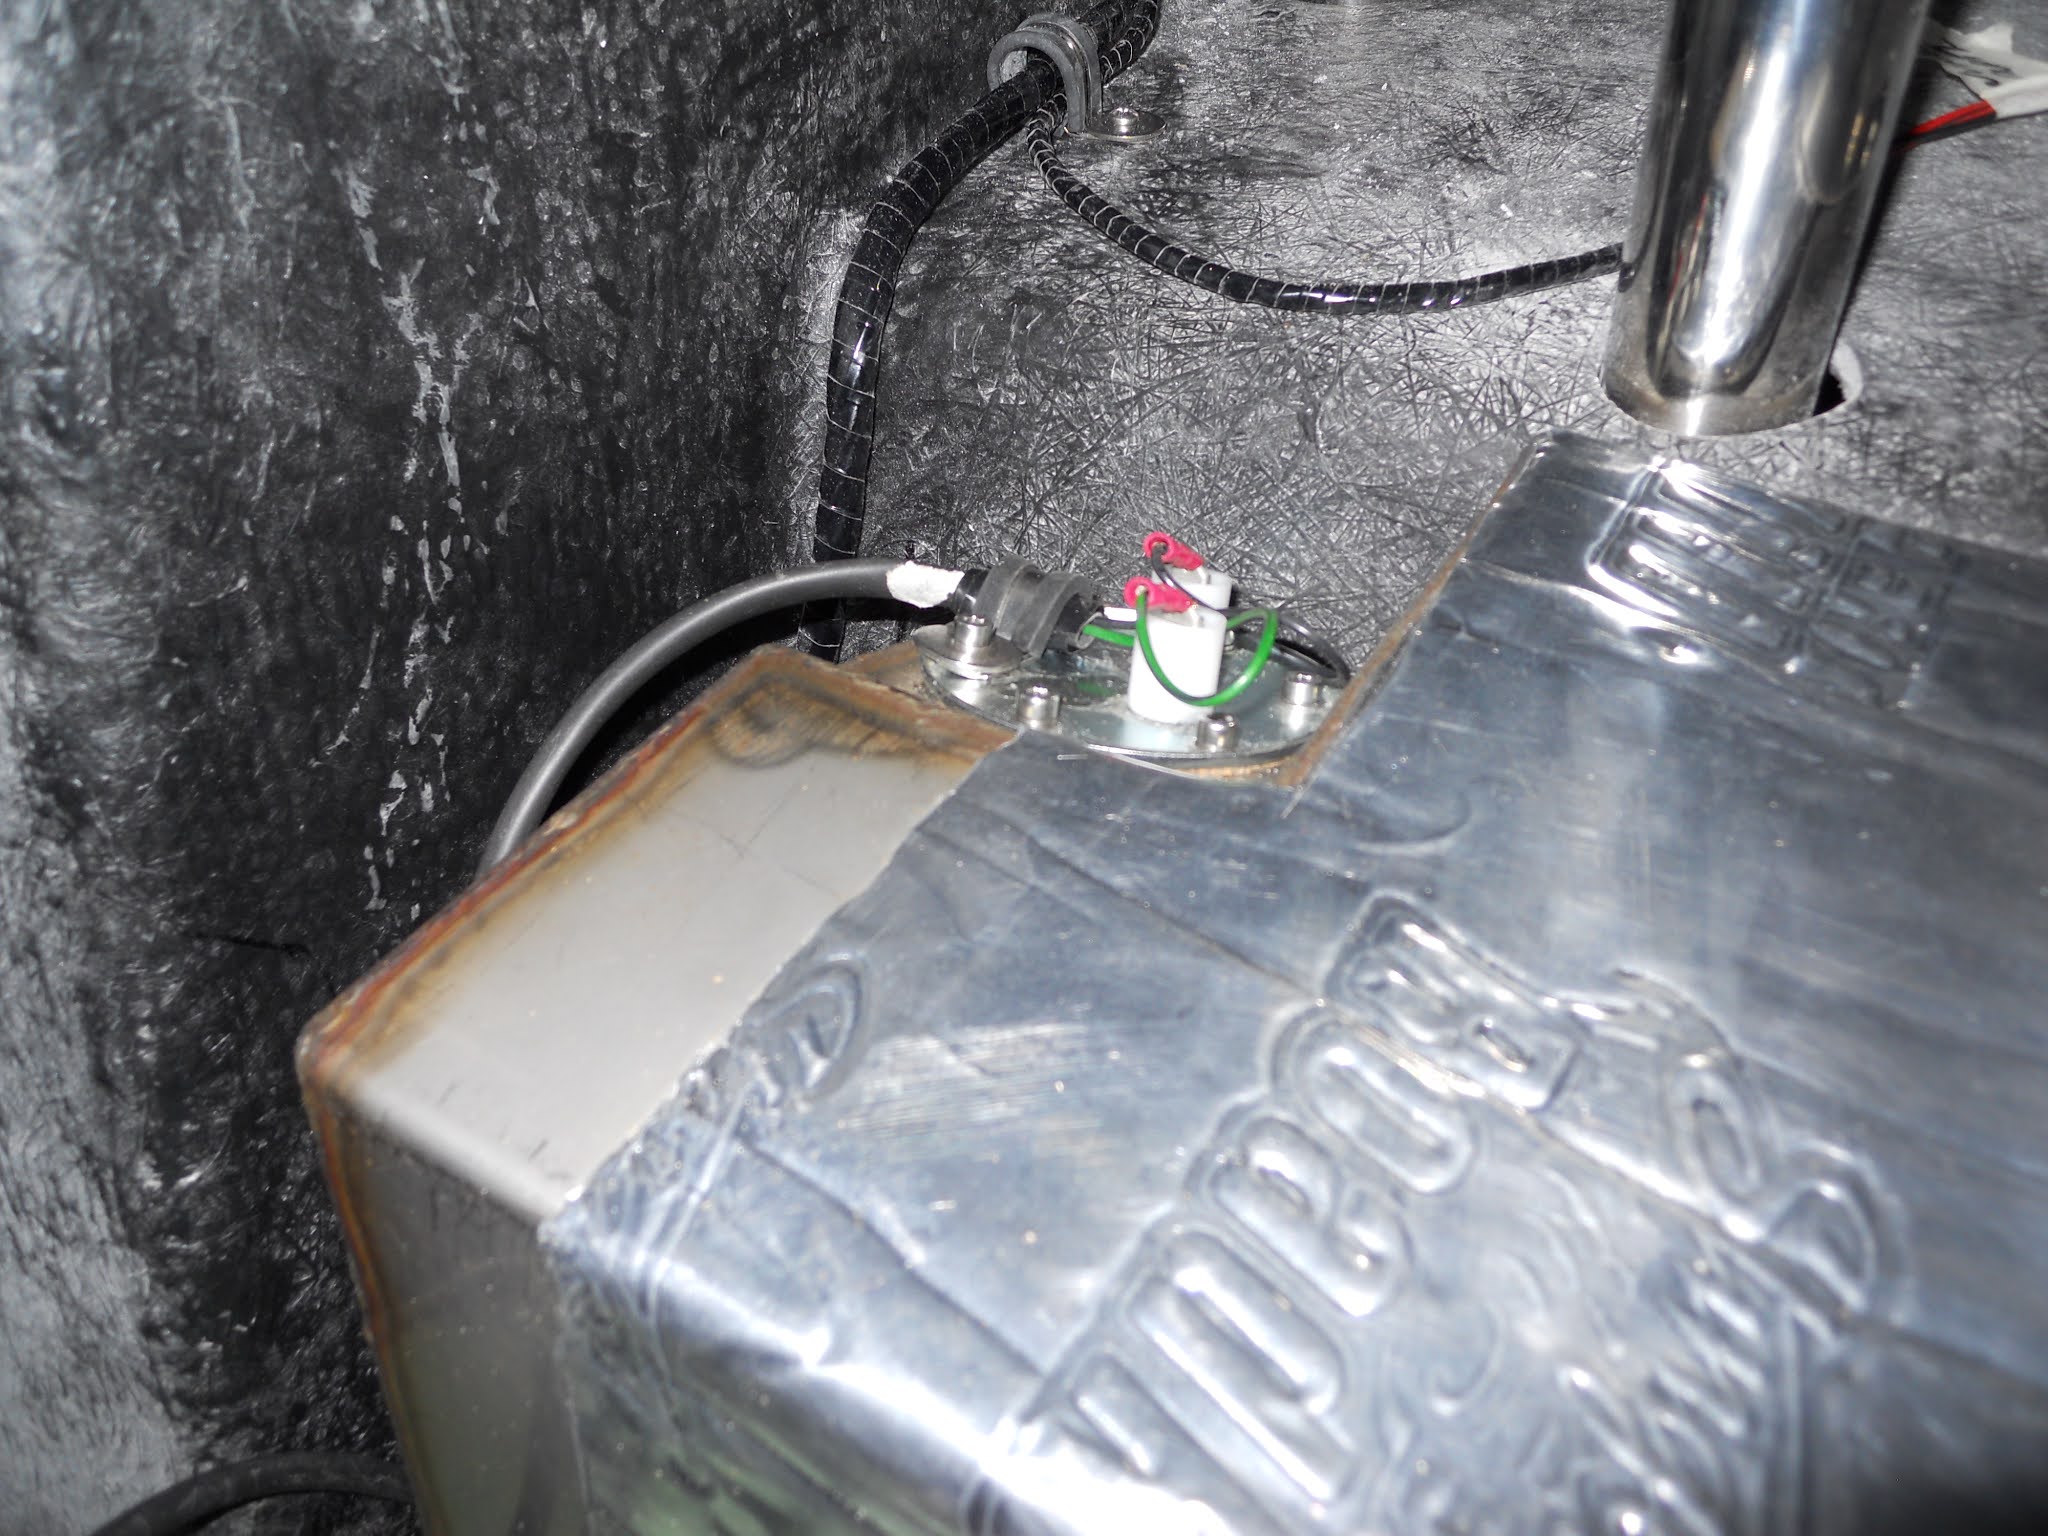
holes drilled and bulkhead fittings in  
 
Fitted the bulkhead fitting with the long thread to the front to give us more clearance for the pies from the chassis.


then it was a case to see if the tank fitted 
tank in and happy 

Can't put the tank central as not enough clearance for the connections but only 5mm off and it will be covered with carpet .
Next was to see how the pipes will fit on the other side.
answer:- not good ..

the fuel system has the fuel feed from the bottom of the tank which is a straight pipe so no issues there but  the fuel return is an elbow fitting and needs the be at the same angle as the connections so the pipe is not  twisted mine was no were near so fuel pump had to come down and be altered .
fuel pump and filter /pressure regulator 

the fuel feed is the short pipe and the return is the top pipe and the angle is critical .
altered now so the top pipe elbow is 90 deg 

all ready to fit now but going to leave this for another day as wiring the fuel pump will be a lot easier before refitting .


Tuesday 12 November 2019

Fuel tank

While I was climbing in and out of the boot cursing once Steve had finished taking the p+ss and stopped laughing he volunteered to fit the fuel tank sender to the tank .

getting out is twice as hard as getting in
This again is not as easy as it looks because the sender is too long and needs bending and then the float moving so it will sweep without hitting the baffle .
Best engineering drawing I've seen

once the sweep is sorted the tank then needs drilling out to accept 4mm rivnuts
camera shy 
 then the sender fits a treat job done .
excellent job

Tuesday 5 February 2019

Fuel Cap

I opted for the Aston Martin type fuel cap and it comes undrilled but had pilot indents on the underside.
Drilled these 4.5 mm to accept 4mm countersunk bolts which then needed countersinking from the top .
This was a challenge in itself  as the countersink (from screw fix) was too wide to get square on to the holes so with a make shift lathe ( drill in the vice and angle grinder !!) made it thinner so it now fits

Drilled out and countersunk

then it was just a simple job to fit the unit to the car but wanted to make sure that the cap was the right way round so ,,, fitted the cap with all the gaskets as clearance s close tightened it down and placed it on the car so it was facing were I wanted it to then mark the holes

placed on the car at the angle I wanted

I then drilled a 5mm hole and tapped it out 6mm to place a grub screw in the back ( as picture above) so it could not move over time .

Marked the holes and drilled out 5mm so I had a bit of error factor and fitted it looks good .
finished cap