Time to finally fit the doors already had the doors on so knew they would fit however need to fit the door cards first ,stuck the supplied clips to the card first
Then made a cardboard template to know were the hole want to be
 |
| note circled hole more on that later |
then transferred this to the door to drill the holes
 |
| holes drilled |
Had some spare sound deadening left so put in on the back of the door as it might make a differance ?
On to the other door figured i could just turn the template round and it would fit but no the holes are similar but not the same hence the circles on the card so i kew which ones to avoid on the second door
once done came to fitting the door handle couldnt find anything to fit the thread not metric nor unf ,call to Andy and he tells me it BA !! and advised me to tap it out 5mm .
Put the handle on first to stop the square spreading and tapped out
 |
| tapped 5mm |
then realized that the hinge covers will be easier to fit now so fitted them with self tappers ,found that the return edge caught the hinge so had to shorten it slightly
 |
| one on |
then its time for the door finally
 |
| one door |
I had bought the door finishers from GD and set to to fit these (well Steve did)
They fit at each end of the door trim ( no surprise there then)
the front one is straight forward .
 |
| fitted |
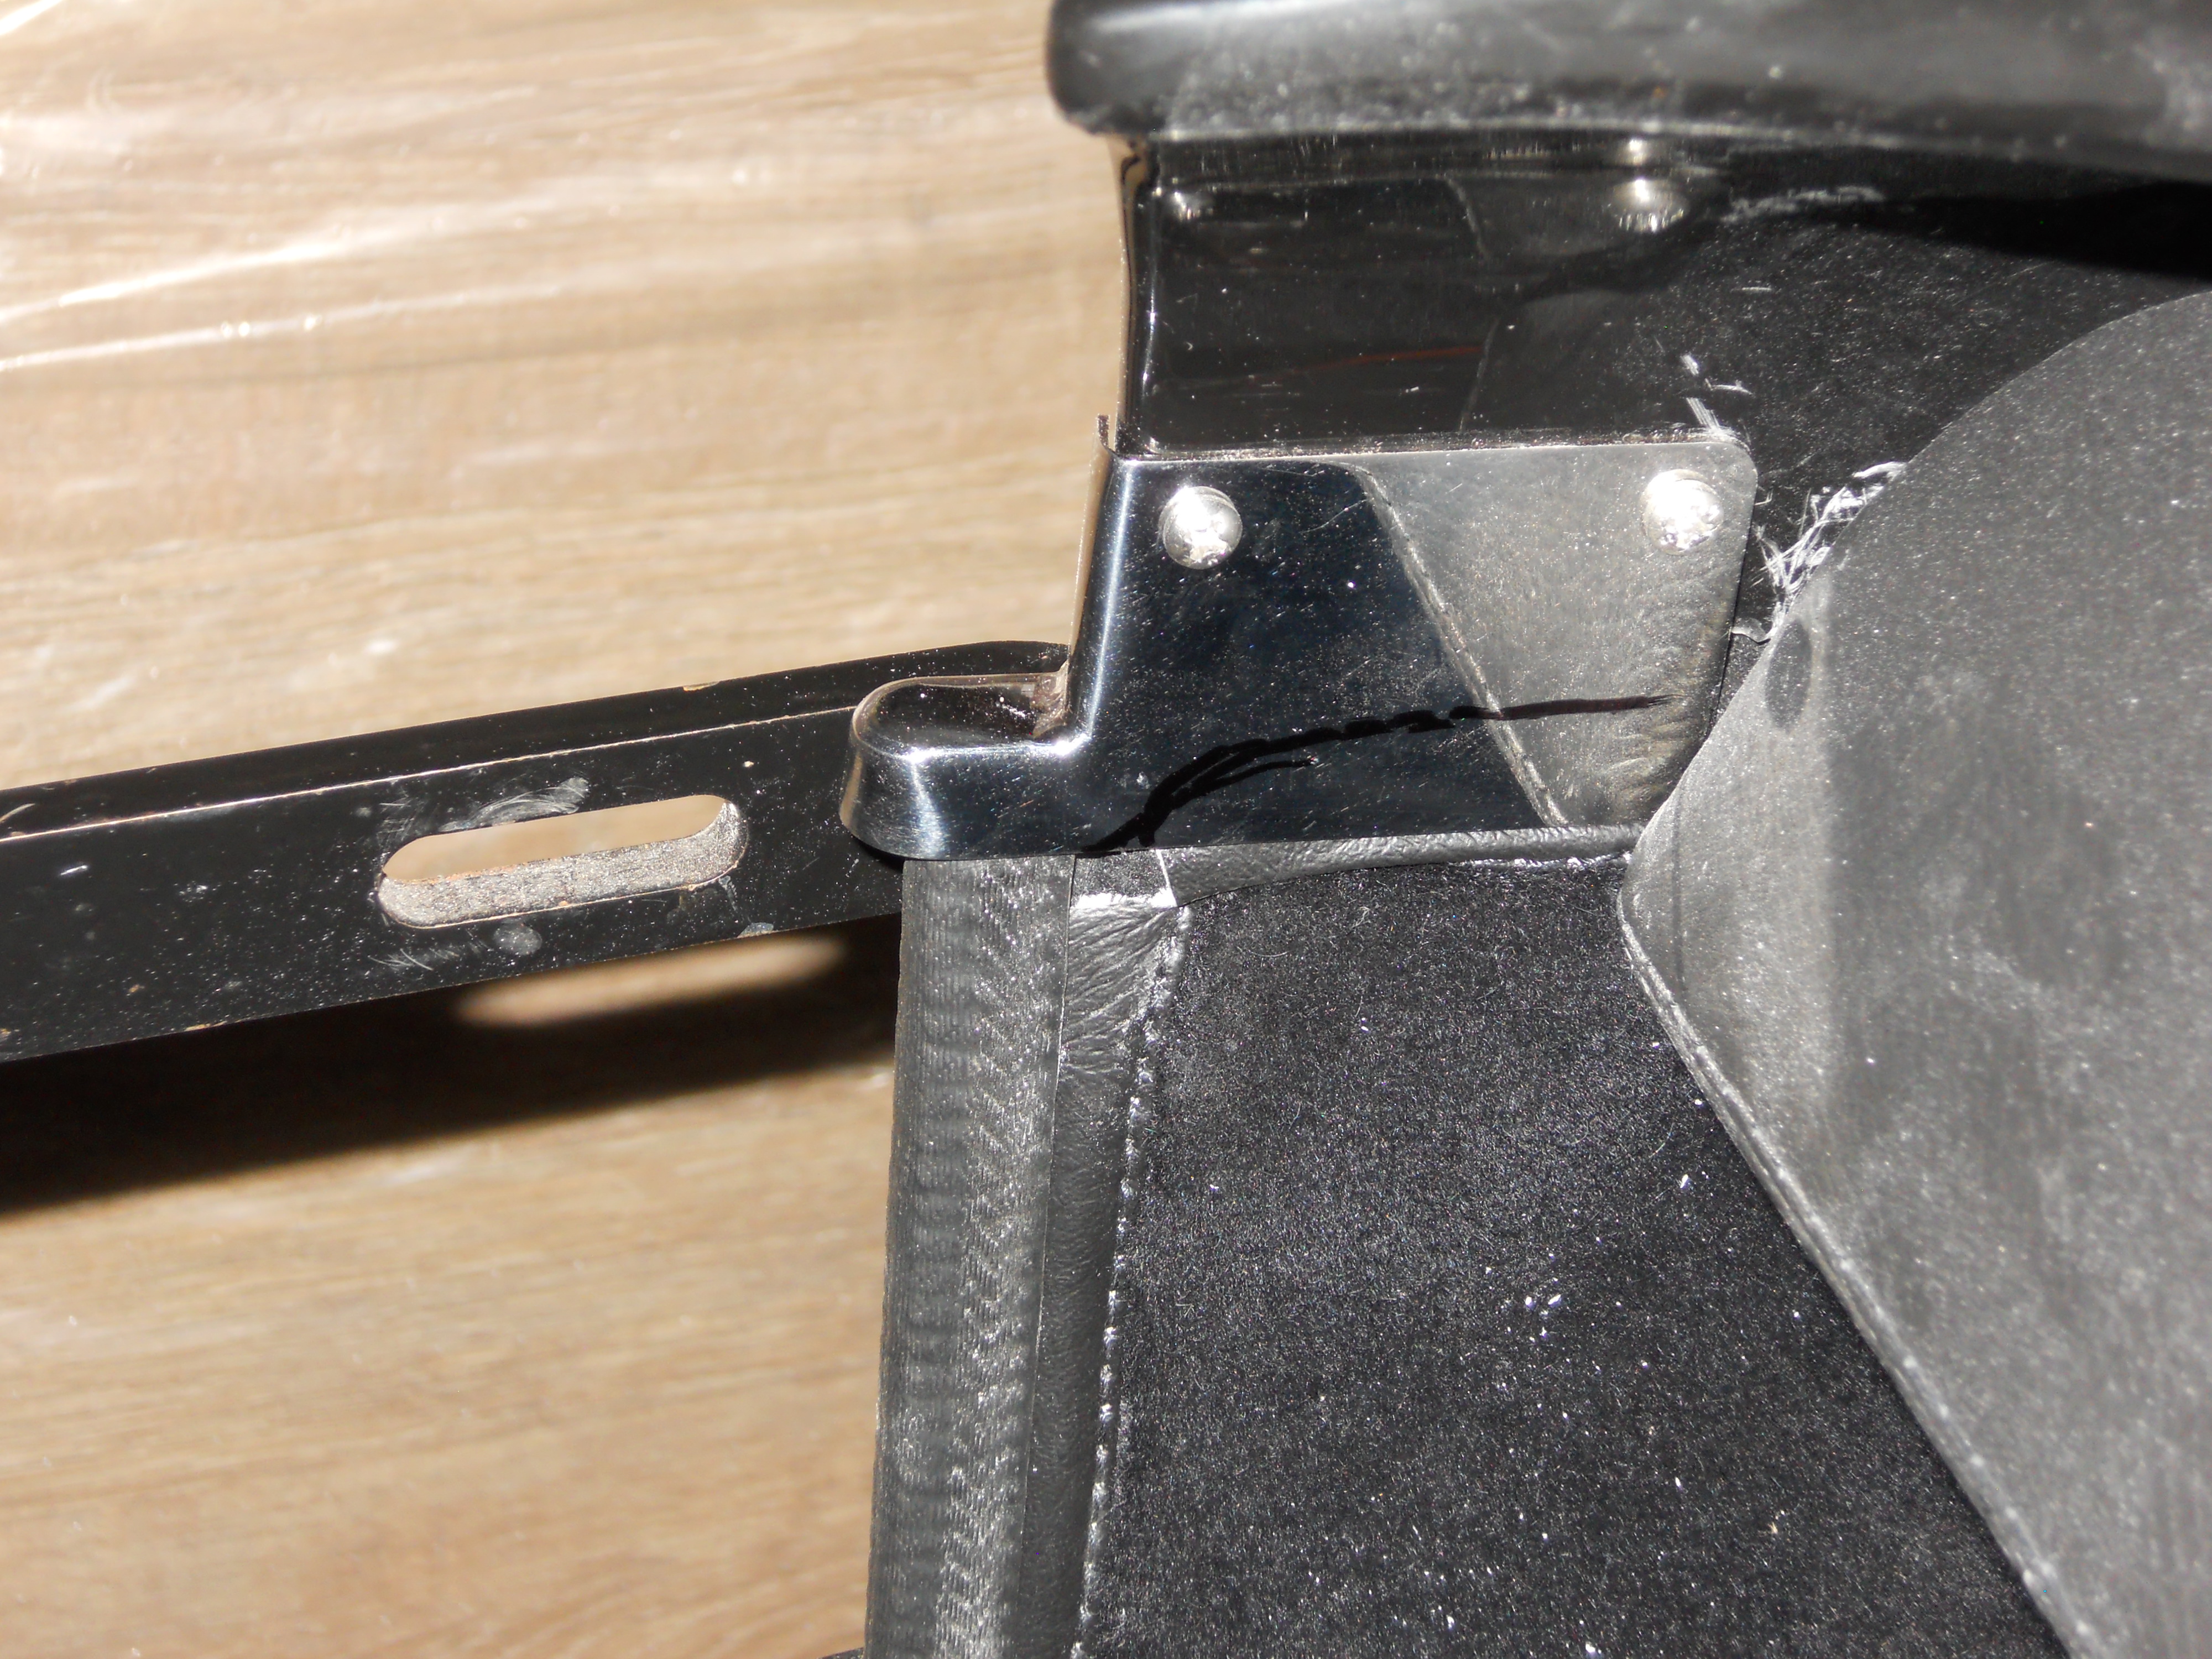
But the hinge pushes the carpet when shut and catches this ,going to have a think about this but one thought is to shaape the bracket like the mark but more on that later .
The second one seems a bit more complicated so enough for today and a beer