Tuesday 1 May 2018

Courtesy lights

 On the wiring loom there is the facility to have Courtesy lights operated by door switches so figured if its there why not .
Bought the door switches from Amazon via China at two quid the pair.
Holes drilled

Then fixed with 4mm countersunk nut and bolt my first idea was self tapping screw but the switch will need earthing to work and the bolt will provide a better and easier earth
Fitted with bolt (free advert for Aldi Butter ( keep bits and bobs in them )


Front wiring loom

Took the front loom out of the box and tried to make sense of it ,wiring loom in one hand and the GD manual in the other and all the wire in front of the engine grommet made sense ( worry about the back bits another day .
First job is to fit the fuse box and it matters which way up it goes ( fuse 1 needs to be at the top !)
again the hole was already cut out for me except it was bigger than the fuse holder in places secures with the bolts and black Silastic
Fuse box fitted the Silastic can just be seen

Secured the wiring loom with 10mm "P" clips to the bulkhead

Part of the loom goes thoughh the left inner wing (used a 25mm grommet) and then doubles back on itself for the indicator repeater so used the same bolts ( less holes!)
Wiring loom doubling back

The rest of the loom then goes across the bonnet stay to supply the drivers side lights secured with 2 5mm rivnuts
View from the nose cone the slack is to accommodate the engine air intake
and the wire hanging down is the feed to the rad fan  


The wiring loom then mirrors the left hand side to supply the drivers indicator repeater .


Boot light

Attempted to find the hidden wire in the boot today as the number plate light wiring is put in before the boot is made and just coiled up  read other blogs and didn't think this would be very easy but found it first go well pleased


Wire found and pulled though
 
 However fitting the unit wasn't quite so straight forward as it comes with studs already on and the boot is double skin so studs are a no no

Light unit with studs


Solution was to drill the studs out and fit 4mm rivnuts to the door sorted. 

Tuesday 17 April 2018

Repeaters

Just managed a bit of time after work to fit the repeaters.
10 minutes thinking time as they come with a chrome surround but the rubber is stuck to the light .
Worth running a small screwdriver between the rubber and the light to break this seal smoothly in order to get the chrome shield on first .
The first one took me nearly 30 mins armed with Vaseline to try and get it in .
Second one 5 mins  ..Put the rubber insert in the hole first and then the repeater just slid in .
Point to note wiring here is reversed white is earth and black is live
Repeater ( didn't plan for the selfie )

First Door

Only have the Drivers door as there was a problem with the passenger door so it has to be re done .I have been looking at it for a while and thought today I am going to try and fit it .
First thing was to score a line 12mm all the way round the frame .
Followed Dales blog again on this and used a nail in a piece of wood

View of my scored line
 
Out came the Dremmel again with the mini cutter (found the chuck of the dremmel works loose and the cutter sods off !!!) so plier's tight sorts that .

Now on to the door famous last words again the holes were already drilled for me to accept the lock except the lock didn't fit.
The solution was to cut off the part of the opening bar that is not used and then it fits easy ( picture to follow as I was so engrossed in the moment never took a picture)


Updated picture  showing the cut off bit

Got the door fitted but not quite happy with the closing as the handle does not return so like other builders will need to source a spring to help with this.
Door closes and is close but not spending any more time on it as it will be coming off to fit the spring .
First door well pleased
 

Sunday 15 April 2018

Front lights

Tackled the front lights so at least it starts to look like a car
found this easy as the holes were already cut for me by GD .
All I had to do was drill another hole to clear the horizontal adjuster ,I opted to use 4mm Stainless nuts and bolts instead of the supplied self tapers
Now it starts to look better
View from the inside showing the bolts

Throttle cut out

As mentioned on a previous post decided to cut out the double skin next to the accelerator like other cobra owners as things  are a bit tight down there .
Copied Dales measurements from his blog and went for 50mm up from the floor and went 220mm up 140 across at the top and 205 across at the bottom .
Didn't use a hole saw as I was scared that the pilot drill may go though the outer skin so went in "cold" with the dremel mini cutter .
It was easy to tell when I was though the fibreglass as the cutter goes easy .
This has left me with straight corners instead of rounded ones which I think I like but may regret this at a later date when it comes to carpets etc

View of the cut out from the clutch cut out

 
View from the drivers position
 
Need to get hold of some west system figre glass now to tidy the area up .

Update ++
Went to a local Fibreglass dealer (Ian Flockton ) who told me I could use their  resin instead of the west system as it is compatible with foam (blue in colour).VERY sceptical was I so he gave me enough to use as a test o the foam I had cut out and it is fine and less than 1/2 the cost result ,well happy 

Tuesday 3 April 2018

Lights

Set to fit the back lights expected this to be a simple job as the holes were already drilled for me by GD .
Decided to fit with the mounting screws vertical as I found a locating peg on the lens and I wanted that to be on the bottom.

Once the holes are filed out to accommodate the earth connection its a simple job to fit .
As the car is not quite level on the trestles I have made the holes slightly larger so there is a bit of movement for the final fit once I have a level platform to work off .


Monday 2 April 2018

Pedal box

Looking at blogs I realised that it was not just a simple job ( what is ?) of fitting the pedals .
Sitting on a make shift seat (2 bits of wood and a quilt )guessing the height as no seats yet , figured I would go with the recommended height suggested by Andy from GD .
Next was the pedal spacing as everybody else seems to bend them apart a bit ,can see why with all that power catching the wrong pedal would be interesting to say the least .
Comparing the pedal centres to my Insignia
That had 6 cms between the clutch and brake and 6cms between the brake and throttle .
On the pedal box I had 5 1/2 and 4 1/5 respectfully .
I set to to bend these in the vice with a large adjustable spanner moving the brake 15mm to give me 6 cms and the clutch 20 again to give me 6 cms .

Hopefully this will make sure that my size 11 shoes will only touch the intended pedal.
This is still a bit of a gamble as know it is rather snug in the foot well .should know better when I fit it .
While the pedals were apart I drilled the top of the throttle .
It requires a 6 mm hole 1mm from the top in 8mm bar so a bit tight .
I have cheated a bit and drilled a 5.2 mm hole and taped it 6mm
Also plan to follow other cobra guys and cut out the side wall to give me a bit more throttle space more on that later dremel out again .
 
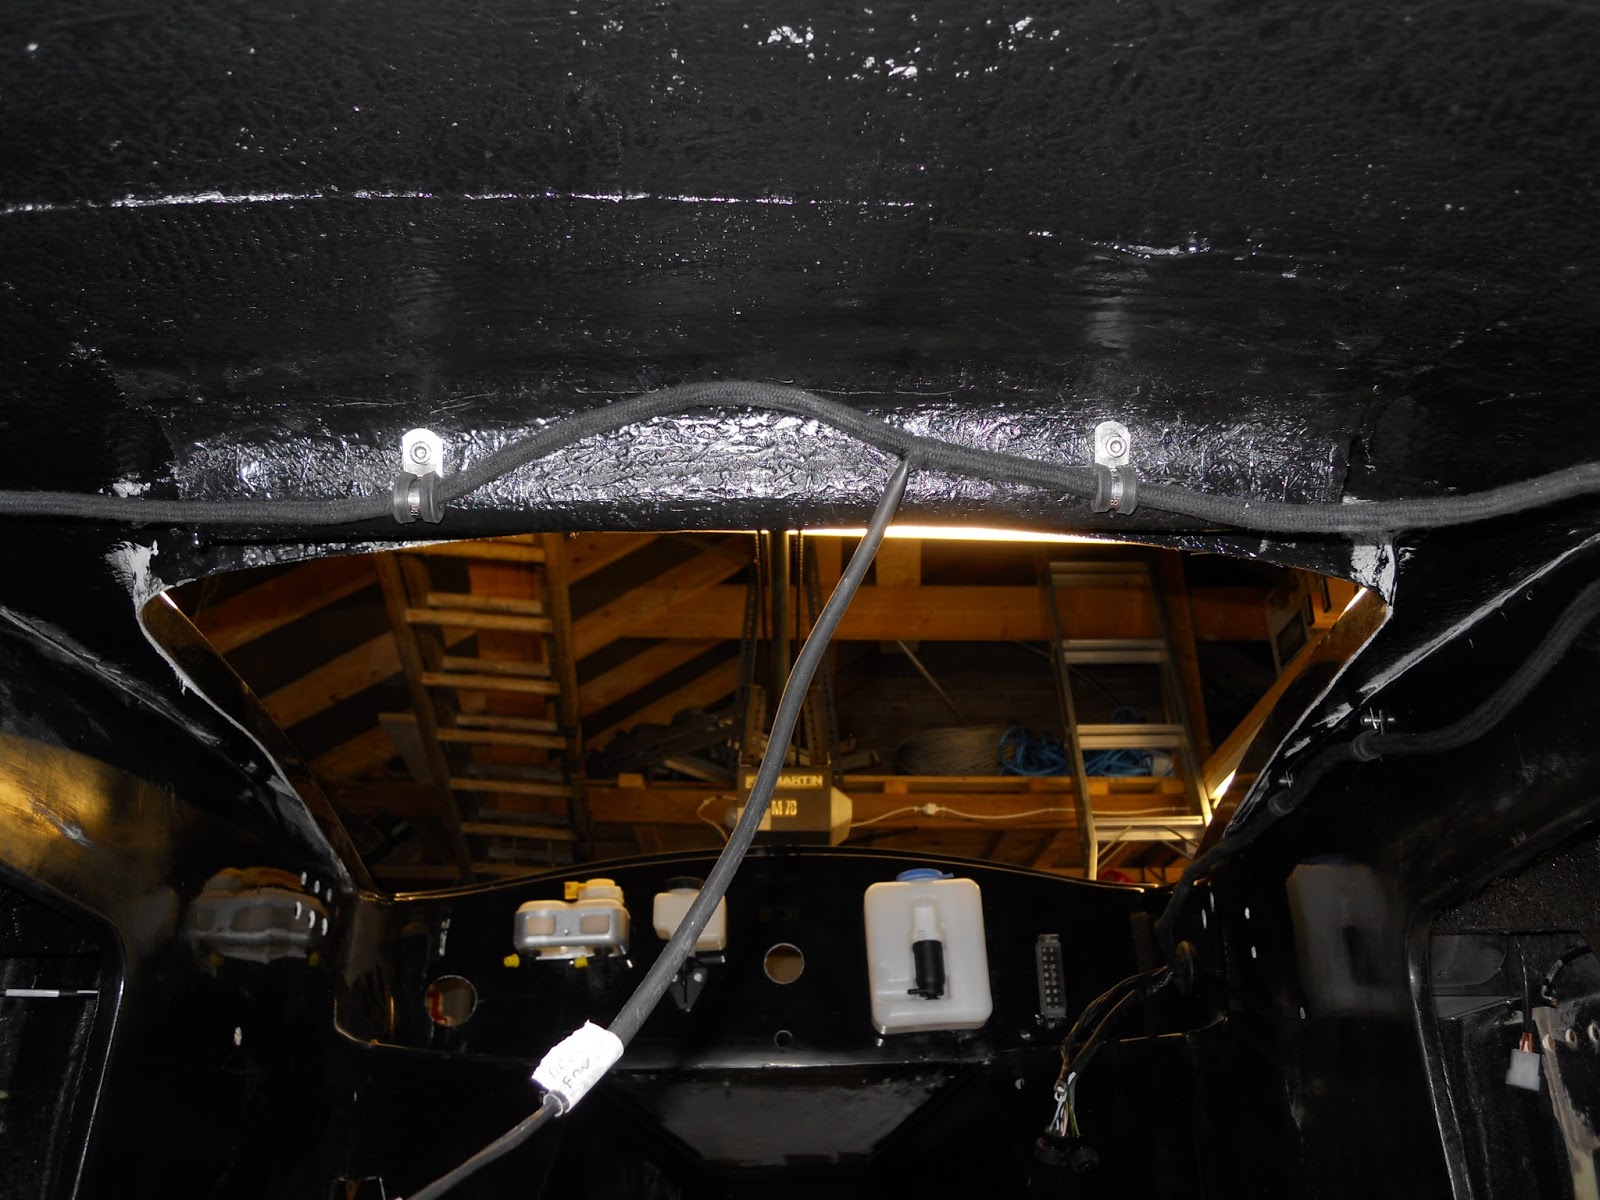
pedals after adjustment (can just see the 6mm tapped hole in the throttle)

Saturday 31 March 2018

Undersealing

Next big job to tackle was the under sealing . It is important with GRP cars that under seal is applied to reduce the risk of star crazing, caused by stones flying off the wheels and hitting the underside of the wings. I used IsoFlex (bought from screwfix as it was the cheapest when I looked), as others had used this product. - it goes everywhere! It has the consistency of black tar and has to be applied 12 to 24 hours apart .
So 3 days spoken for two coats on the underside and three coats on the wings as others had done .
first mistake painted from the tin so by the end of the first day the "tar" was that thick it was unusable.


Undersealed front wing with the "frog" masking tape still in place .
Second day and another tin later poored into a take away dish much better enlisted help of (un)willing son.
If I hadn't made the first mistake I would have got away with using 1 tin,  lesson learnt.
At least its done now.

and it just started to rain !!

All done now finally