Wednesday 24 March 2021

Boot Fitting

 Before the final Fuel tank fit needed to fit the boot first as would be impossible to climb in the boot with the fuel tank in place .

First job was to fit the striker plate .I found the center of the car and marked and drill the plate.


Next job was to fit the boot lid ,I am using the newer type hinges so a bit easir to line up everything with no bending .

Hinges fitted with cap head bolts the same as the bonnet  

Steve graciously volunteered  to climb in the boot to check the position  of the clasp  which should line up as i had the holes drilled in by Andy at GD .

Unfortunately the clasp did not line up at all , the reason was that i had placed the clasp in the middle of the car and it should be 3mm off set ( as mentioned in other blogs so no excuse really ) .

Steve's welding skills to the rescue  again as he moved the catch 3mm so now the catch will line up.

Again in the boot and the catch was fine now .

Secured  the catch with self tapping screws and moved on to the handle.

The handle has 2 locating pegs which have to be drill out to stop it turning 

Marking the locating holes 
Then it was a case of fitting the handle again with self tapping screws .after shorting the bar to the correct length


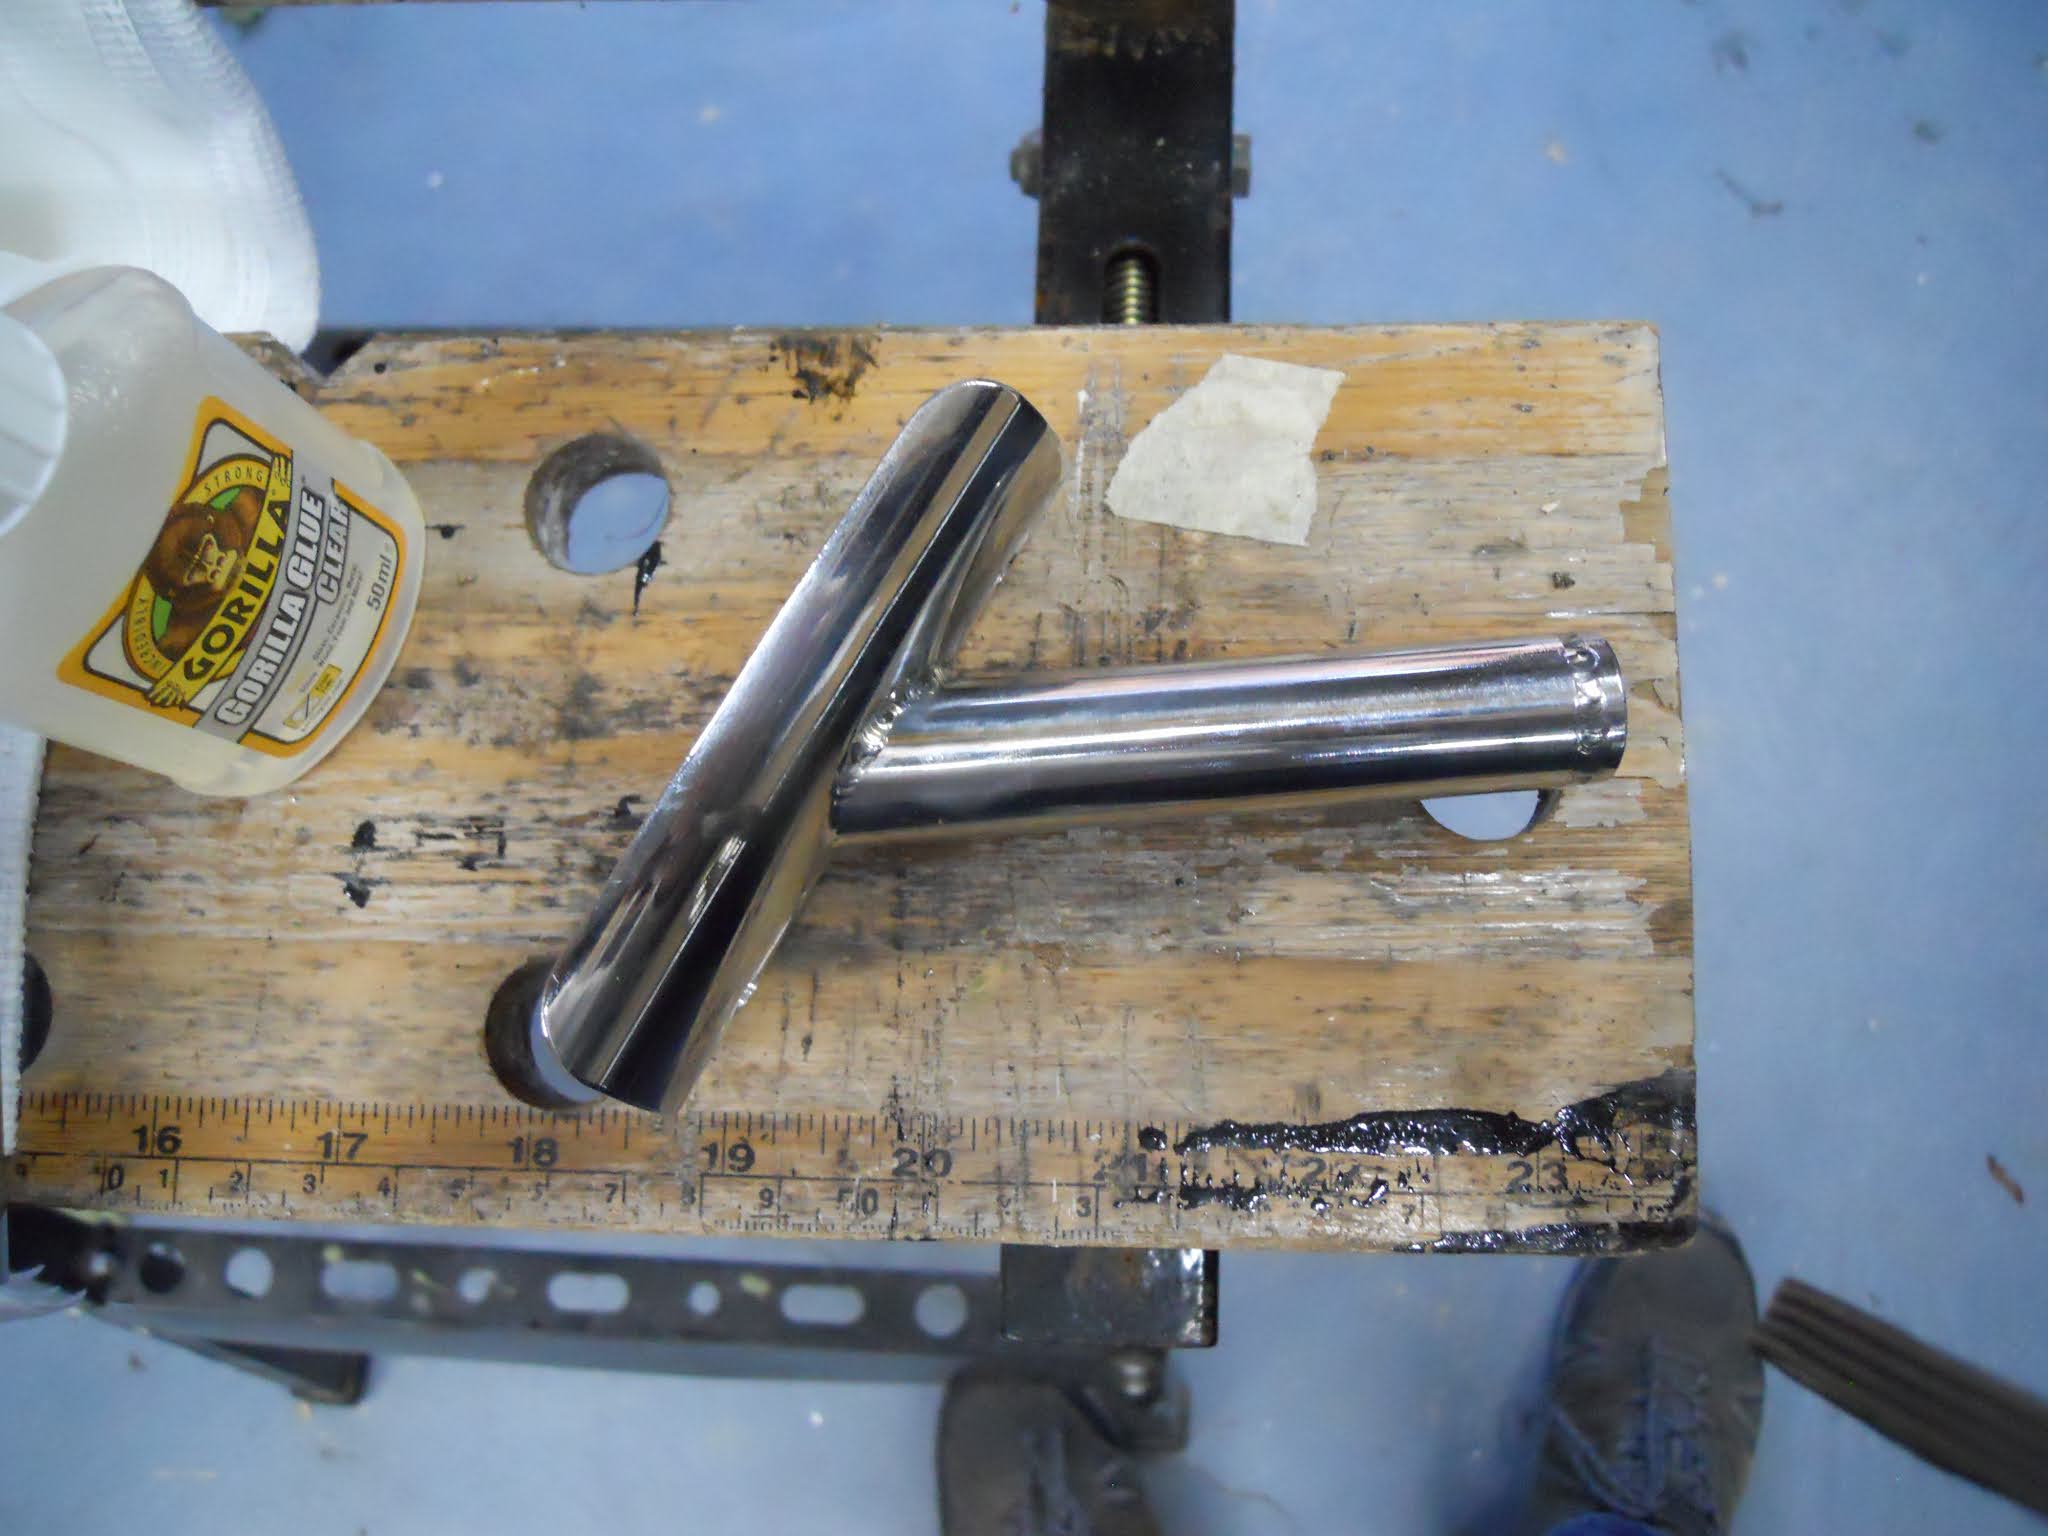
Steve came up wit the idea for added security to drill and tap the bar so it cant come loose which sounded good to me so drilled and tapped the bar 5mm and secured it to to the latch


latch with the bolt fitted 

Friday 5 March 2021

Roll Bars Final fit

 Removed the cover plates as not happy with the machine marks and using Autosol and trusty Dremel now a lot better .

Applied a little bit of silicon to the under side of the rubber and then finally bolted then down .

To finish off put in the eyebolts for the seatbelts and the head rest bars .

Test fitted the eye bolts to see how they would sit and by moving them about managed to get all but 1 to line up ,that one need a bit of carful filing on the roll bar to make it line up .

Once sorted applied stud lock to the eye bolts and the headrest bolts and secured.

Stud lock applied 

Fuel tank

 Today decided to tackle the fuel tank ,wanted to get this in place and all the connections right before removing it to fit the boot as not sure there will be enough room for me and the fuel tank in the boot .

First job was to sound proof it to try and stop it drumming, quite an easy job with the self adessive sheets I bought.

sound proofing applied 

Also following advice from Dale took out the fuel sender and hovered out anything that might be in there to save the filter later on .
Then came the interesting bit ,trying to get the bulkhead fittings in the right place as there is not a lot of room .
2 ideas were forthcoming and as Steve's was the better idea we went with that so ... marked the center line were the pipes naturally wanted to go then removed the tank and bent the pipes to a nice curve before measuring the distance from the bottom of the tank to the center of the pipes this gave us 115mm and 180mm .drilled these holes for the bulkhead fitting ( larger one at the bottom ) 
holes drilled and bulkhead fittings in  
 
Fitted the bulkhead fitting with the long thread to the front to give us more clearance for the pies from the chassis.


then it was a case to see if the tank fitted 
tank in and happy 

Can't put the tank central as not enough clearance for the connections but only 5mm off and it will be covered with carpet .
Next was to see how the pipes will fit on the other side.
answer:- not good ..

the fuel system has the fuel feed from the bottom of the tank which is a straight pipe so no issues there but  the fuel return is an elbow fitting and needs the be at the same angle as the connections so the pipe is not  twisted mine was no were near so fuel pump had to come down and be altered .
fuel pump and filter /pressure regulator 

the fuel feed is the short pipe and the return is the top pipe and the angle is critical .
altered now so the top pipe elbow is 90 deg 

all ready to fit now but going to leave this for another day as wiring the fuel pump will be a lot easier before refitting .


Friday 26 February 2021

Wiring Alterations

 There are some wiring loom alterations that are mentioned on the DVD but not obvious enough for me to have seen before fitting the wiring .

First change is to the horn relay .

The relay has a feed to it and requires an earth impossible to change while its fitted 

Horn relay is the 3rd from the back 

The purple loop need cutting and replacing with an earth .

loop can be seen 

loop replaced with an earth 

Second Change is the  fuel pump feed wire, the wiring is fed from an ignition live from the fuse box and on my car the fuel pump is fed from the ecu so the pump wire has to be cut from the fuse box an attached to the ecu fuel pump wire .

fuel pump wire cut from fuse box 

As this ignition wire is no longer required i intend to use this wire for the feed to the electric seats and the reverse lock out switch .

Third change is to the washer pump again the feed needs removing and replacing with an earth wire 

feed(green wire removed and replaced with an earth 

Throttle cut out

 Once we had fitted the seat it became apparent that the pedal s were to high and driving would be very uncomfortable .pedals out and back like the Hokey Cokey  .

After the final fit there would be no advantage to having the throttle cut out i have previously done . So i have fiberglass the foam back in ,this will make the carpet a bit easier to fit (hopefully )

Foam glassed back in 

Dash board part 7

 Been to GD and got a replacement Start button and at the same time got advised that the button will not carry the intended start current !!! 

So Relay now required , fitted the relay on one of the gauges ,as per a previous post i intend to use the engine start light as an oil pressure light so this means that i will need to supply a feed to the light an then the iol pressure sensor will evevitivaly earth it putting the start light on when there is no oil pressure ie engine stopped .

Relay can be seen attached to fuel gauge with the feed coming from the volt gauge  
The gauge lights i have fitted using male spades for the positive but the negative i fastened to the gauge nus to try and increase the earth paths  
Left the speedo and tacho Gauges out to make it easier to fit the dash (hopfully ) 


Roll Bars part 7

 On to the last bit of roll bar fitting definitely  a 2 man job  and one that again needs to look right ,the holes are pre marked with 3 dimples to aid drilling,


 Had to be aware of were to place the hole in order to be able to get to the back of the bolts .After much deliberation we decided on on hole in the center, so marking bewteen the roll bars to give a centerline drilled the holes trough the rubber and body in one hit .found the easiest way to do this was by using the flex attachment of the dremel with a 3.2mm drill .

bracket in position ready to be drilled 

drilled and bolted down 

thought that was the final fix but not happy with the covers as the machine marks can be seen and not 100% sure that the rubber will seal so going to take them out again to polish and apply some sealant  Part 8 should be the final fix .


Wednesday 9 September 2020

Roll Bars Part 6

 After much debate on what to fill the bars with went for the original idea of foam like everyone else ,Found some high density expanding foam from screwfix ( other brands available !!!) and used that . 

first wet the roll bars and then discovered that the tube is not linked at the weld so needed to fill that bar separately .

Used an extension tube on the foam to make sure we got all the tube filled ,sorry no pics as such a messy job .then put the bolts back in to protect the threads .


Once this had dried is was back in the car again to check the final fit in order to gat the bars to sit parallel had to place 2 washers under the rear bar on the left hand side .

I have opted for the single head rest support which needs to be drilled in the rear downpipe .


using a piece of string we were able to find the mid point so the head rest would look central.
Drilling them was an absolute nightmare ,Tried my cheap drill first unsurprisingly no luck .closely followed by the drills I bought at Stoneleigh again with limited success,then after much abuse from Steve he arrived with his "decent drills" and sorted .


 happy with that but unfortunately managed to scratch the top of the roll bars, so needed to take them out again to be re polished, Huge thank you to John at Alpha circle (Grimsby)  for sorting them out for me ,   

and so 

 its on to fitting the rubber seals and cover plates .

The outside cover plate needs bending to follow the contour of the car and after  much thought bending it round a scaffold tube seems to work the best ( need to remember to bend it first before drilling the 4 mm hole to secure it other wise the ring will kink on the hole. 


bent and ready to be bolted down .

Monday 15 June 2020

Dashboard Part 6

After labeling the wires it still just seemed like a maze.
Set to and started at the hazard switch end.
Needed  the technical files section for the wiring diagram from the GD disc then hoped the rest would sort of  fall into place .
I have a key switch separate from the steering column and the  hazard switch were Andy at GD puts his so guessed  the wiring would reflect this.  
Key switch and hazard switch as a starting point 

Hazard switch wired and connectors for the stalks  

Next was to tackle the switches I noticed there was a cut out at the top and I didn't want to see that so mounted the switches upside down
The cut can just be seen 

I then had to sort out the wiring as the light switch and the heater switch are both 2 position but the side lights to stay on when headlights are selected .
sorted this out with my meter and came up with
connections for the switch upside down 
Will require a link wire between 1 and 2 
once the switches were done most of the wires dropped into place ,I had a couple of issues  first is the illumination of the start button I needed to be the oil pressure wire so had to lengthen  that ,
Some of the gauges didn't have the terminals marked up so used a 12volt source to check and at the same time checked all the lamps (and found the start button doesn't light up )
 and I had no wiring diagram for the speedo or tacho in the box . the tacho was straight forward once I looked on the web but the speedo is not so easy -email to Andy then .

Starting Again

Who would have thought that half way though March our world would turn upside down ?Still cant believe it ,
The whole car building process just got put on hold with all the other things going on but now can finally get  a bit of time back on the car .
Fitting the battery seemed to be an easy  next step
Didn't like the bracket idea as less holes in the bulkhead seemed to be the way forward to me  ,trip to the scrap yard and got a battery strap off a car that I think will work fine .
Battery cradle fitted with my strap secured to the back fastening  

Battery fitted  ready for cover plate to go on