 |
| pride of place |
Tuesday, 21 May 2019
wiring
Now I have the seat wiring I can complete the loom
Wiring is colour coded for right and left which helps .I also decided to put an extra pair of wires in at the same time just in case .
Looking at other blogs and the IVA needs clipping at at least 300mm so I copied other blogers and went for 250mm
used 6mm clips on the drivers side and 10mm clips on the passenger with stainless self tappers and washers .
Wiring is colour coded for right and left which helps .I also decided to put an extra pair of wires in at the same time just in case .
 |
| Drivers side heater cable +2 spares |
 |
| left hand side has carried the main loom as well |
Seats and leather gear !
Catching up on the blogs
Seats and all the leather have arrived as needed the dash leather and the heated seat wiring so had to get the lot and store for later on ( happy wife)

Seats and all the leather have arrived as needed the dash leather and the heated seat wiring so had to get the lot and store for later on ( happy wife)

Might look better in the car
Wednesday, 3 April 2019
Light wiring
Next task was to start with the wiring started at the drivers side and worked my way round .
Using the GD diagram the wires. are quite straightforward .
Knowing how much water plays havoc with wiring wanted to make sure in the unlikely event of being caught out in the wet at least the wiring would stay dry .
Placed heat shrink on the headlight cable so that no water could get in the cables and used the bullet connectors supplied to connect up followed by adhesive tape to seal it all in .
At this point I was not happy with how exposed the indicators were so decided to try and protect them a bit .
After some thought cam up with half a tennis ball ! I extended the light securing screws with 5mm barrel nuts (tool station ) and then fastened the tennis ball with 2 more 5mm nuts after painting think it look better only time will tell .

As in the same picture fitted the mesh covers at the same time these were fabricated by Steve whilst laughing at my tennis ball idea ,he had to make a wooden template to form the mesh round as the hols were already cut so couldn't use the piece cut out and have to say fitted first time .
Using the GD diagram the wires. are quite straightforward .
Knowing how much water plays havoc with wiring wanted to make sure in the unlikely event of being caught out in the wet at least the wiring would stay dry .
Placed heat shrink on the headlight cable so that no water could get in the cables and used the bullet connectors supplied to connect up followed by adhesive tape to seal it all in .
At this point I was not happy with how exposed the indicators were so decided to try and protect them a bit .
After some thought cam up with half a tennis ball ! I extended the light securing screws with 5mm barrel nuts (tool station ) and then fastened the tennis ball with 2 more 5mm nuts after painting think it look better only time will tell .

Still wet should blend it when dry !
As in the same picture fitted the mesh covers at the same time these were fabricated by Steve whilst laughing at my tennis ball idea ,he had to make a wooden template to form the mesh round as the hols were already cut so couldn't use the piece cut out and have to say fitted first time .
Dashboard part 1 of ??
Decided it was high time I tackled the dashboard .
First problem was it didn't fit and when I managed to get it some were near it caught on both the door hinges .
Calls out to Andy ,Dale and the Keith for help found out that the dash need to be square at the ends unlike mine .
Once trimmed it would go in but when setting the dash to be parallel with the transmission tunnel found the top was not leval with the top of the car .
with a bit of sanding and more phone calls it fits
Once I was happy with the fit then pondered over which layout to go for .This was a lot easier than I thought as I wanted the 5 gauge layout and Annie (the boss) said I was having a clock !! ^ gauge layout it is then
The dash has all the marks on it for various layouts so its just a case of making sure the right guide holes are used for the layout I was having .
Measured each gauge and then added 2 mm for the leather to give me the final sizes .
Used a dermal circle cutter for all the gauge holes after first drilling a 3mm pilot hole to allow the point of the cutter to sit in as not to move .
Once the hole were done couldn't resist a trial fit
Flushed with success the switches and warning lights next .Again measured the diameter and added two mm for the leather .
used a step drill for this ironically the metric one I had was the wrong sizes but the imperial one was just right how strange .
All drilled out and ready to see it in the car .
Found the the top gauges were going to foul the top sill as well as 2 of the warning lights which I expected as read on other blogs so marked these as well as the four mounting holes I was going to use .
drilled 2 each side of the big gauges and 2 at the ends .
Drilled them 5 mm in the dash and 6mm in the car to give me a bit of play when the leather goes on .
took 2 days but worth the effort
First problem was it didn't fit and when I managed to get it some were near it caught on both the door hinges .
Calls out to Andy ,Dale and the Keith for help found out that the dash need to be square at the ends unlike mine .
 |
| needs to be trimmed at the line to fit |
with a bit of sanding and more phone calls it fits
 |
| make shift sander |
 |
| Any layout I want as long as it looks like this !! |
Measured each gauge and then added 2 mm for the leather to give me the final sizes .
Used a dermal circle cutter for all the gauge holes after first drilling a 3mm pilot hole to allow the point of the cutter to sit in as not to move .
 |
| Dusty job so I held the camera !!(what a tidy garage!)) Note the gauge sizes written on the top least I forgot |
 |
| Itching to have a go |
Once the hole were done couldn't resist a trial fit
 |
| starting to look the part now ,a lot of work to get this far (note the switch marks ) |
Flushed with success the switches and warning lights next .Again measured the diameter and added two mm for the leather .
used a step drill for this ironically the metric one I had was the wrong sizes but the imperial one was just right how strange .
All drilled out and ready to see it in the car .
 |
| nice fit and nice smile ! |
drilled 2 each side of the big gauges and 2 at the ends .
Drilled them 5 mm in the dash and 6mm in the car to give me a bit of play when the leather goes on .
 |
| sill filed out to clear and the securing holes can be seen |
took 2 days but worth the effort
Wednesday, 6 February 2019
Demisters
Fitted the demisters as figured that would be an easy job as the holes have already been cut out .
Not quite that easy as the hole centres didn't line up and the holes weren't wide enough drilled the holes out to 5 mm to give me a bit of room and filed the slots out and it fits two issues I am not happy with
1 the white fibreglass can be seen though the slots which stands out too much on a black car and
2the body is curved but the demisters are straight this means they fit nice at the edges tight up to the bracket but I have a gap in the middle .
going to try to build up the gap with black silastic which may sort out the first problem as well
Not quite that easy as the hole centres didn't line up and the holes weren't wide enough drilled the holes out to 5 mm to give me a bit of room and filed the slots out and it fits two issues I am not happy with
1 the white fibreglass can be seen though the slots which stands out too much on a black car and
2the body is curved but the demisters are straight this means they fit nice at the edges tight up to the bracket but I have a gap in the middle .
 |
| demist slots look good from this angle |
Battery cables
Had a bit a time today so fitted the battery cables I copied Dales post and fitted the Positive at the bottom ,although my set differed from his as only had rubber protectors on the engine side ( will need to clarify that with Andy )
Also the main wiring loom supply that I fed in above the heater what seems like an age ago needed to be fitted to the positive as well which needed filling out to fit !
another little job off the list. also fitted the heater plug at the same time ,The heater is three speed and the wiring is for 2 speed using the diagram on the side of the heater went for lowest and highest ( can always change my mind )
Also dropped in the battery box to test for fit ready to bolt though the floor on next visit .
Also the main wiring loom supply that I fed in above the heater what seems like an age ago needed to be fitted to the positive as well which needed filling out to fit !
another little job off the list. also fitted the heater plug at the same time ,The heater is three speed and the wiring is for 2 speed using the diagram on the side of the heater went for lowest and highest ( can always change my mind )
 |
| Batt cables from the inside showing the main loom feed and the now wired heater plug |
Also dropped in the battery box to test for fit ready to bolt though the floor on next visit .
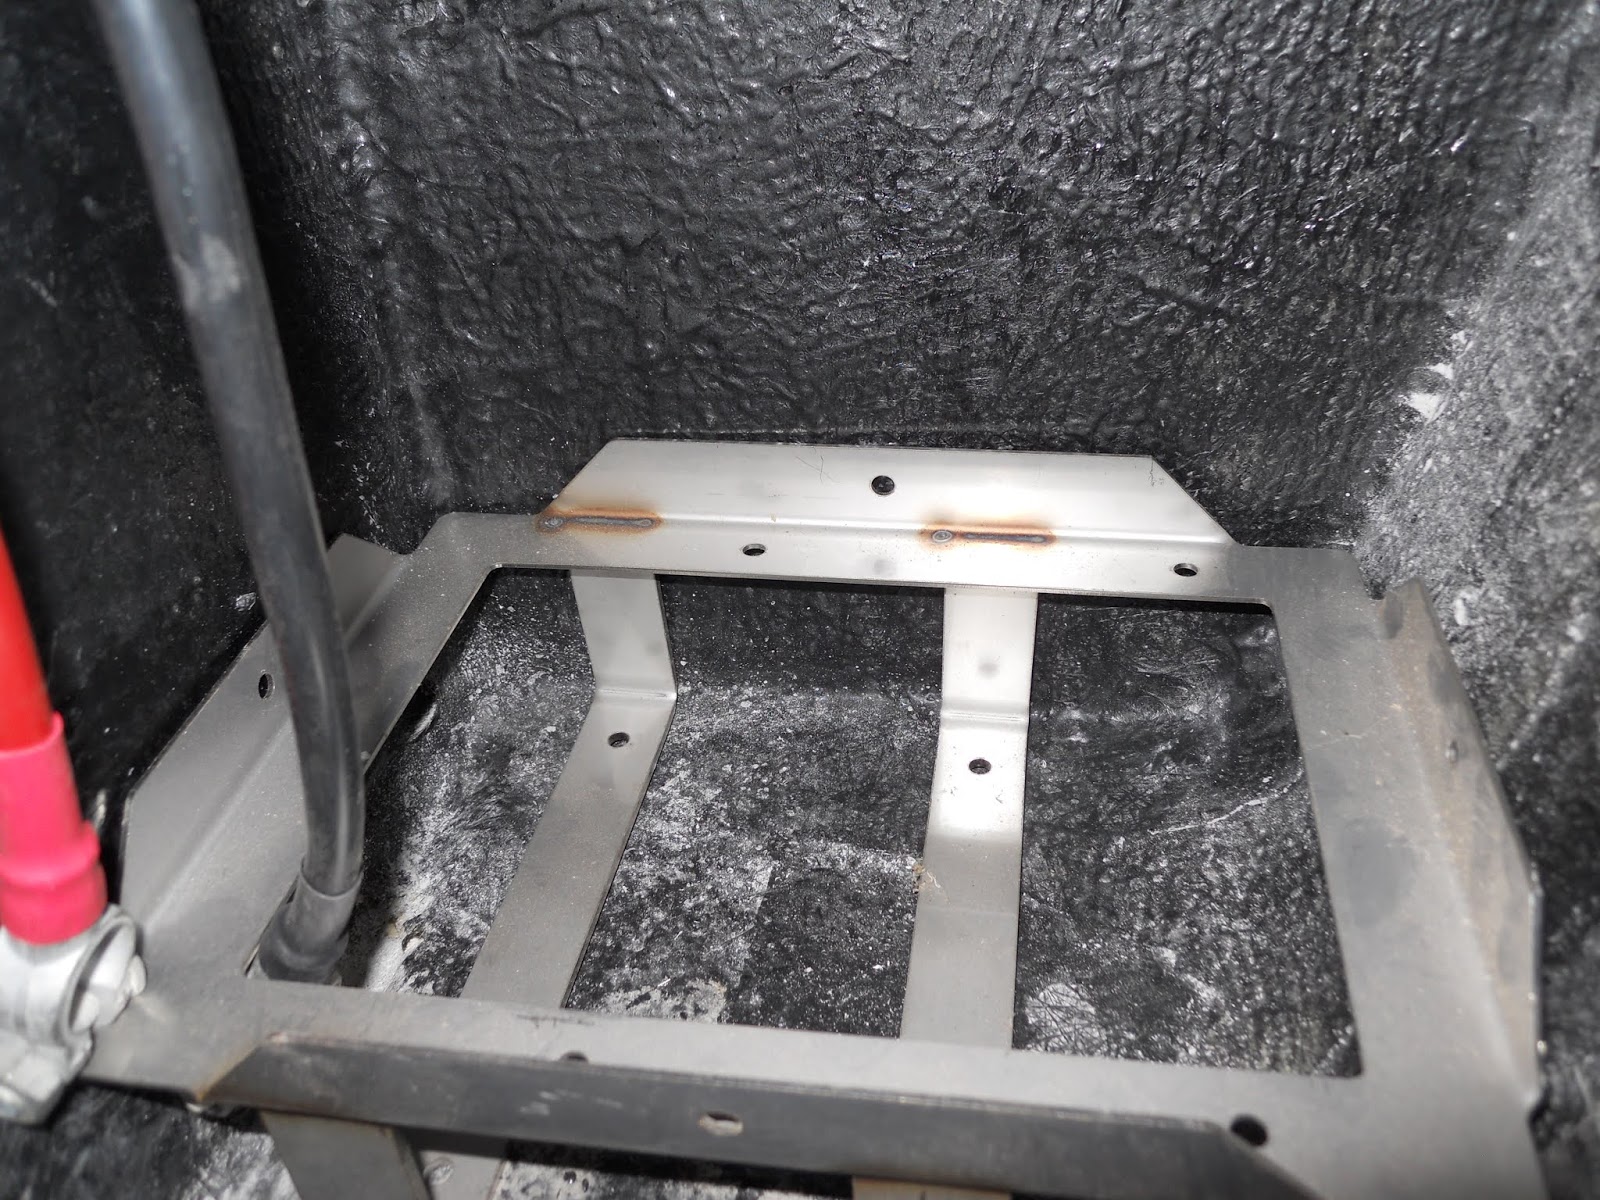 |
| seems to be too many holes just for a bat box more reading required |
Tuesday, 5 February 2019
Washer jet
looked at the kit and two jets are provided but copied a lot of other people and went for just the 1 as it is twin jet and how much rain use am I going to see ( famous last words )
found the centre of the car and marked 20mm in from the bonnet copied from other blogs and noticed that the windscreen stay was 3 mm off the centre line . After deliberation and re checking my measurements it is the windscreen that was not quite plumb, assuming this is due to the windscreens being hand made. Decided to stick with the centre line as the stay bracket wont be seen because of the rubber .

found the centre of the car and marked 20mm in from the bonnet copied from other blogs and noticed that the windscreen stay was 3 mm off the centre line . After deliberation and re checking my measurements it is the windscreen that was not quite plumb, assuming this is due to the windscreens being hand made. Decided to stick with the centre line as the stay bracket wont be seen because of the rubber .
 |
| Jet fits nicely |

Fuel Cap
I opted for the Aston Martin type fuel cap and it comes undrilled but had pilot indents on the underside.
Drilled these 4.5 mm to accept 4mm countersunk bolts which then needed countersinking from the top .
This was a challenge in itself as the countersink (from screw fix) was too wide to get square on to the holes so with a make shift lathe ( drill in the vice and angle grinder !!) made it thinner so it now fits
then it was just a simple job to fit the unit to the car but wanted to make sure that the cap was the right way round so ,,, fitted the cap with all the gaskets as clearance s close tightened it down and placed it on the car so it was facing were I wanted it to then mark the holes
I then drilled a 5mm hole and tapped it out 6mm to place a grub screw in the back ( as picture above) so it could not move over time .
Marked the holes and drilled out 5mm so I had a bit of error factor and fitted it looks good .
Drilled these 4.5 mm to accept 4mm countersunk bolts which then needed countersinking from the top .
This was a challenge in itself as the countersink (from screw fix) was too wide to get square on to the holes so with a make shift lathe ( drill in the vice and angle grinder !!) made it thinner so it now fits
 |
| Drilled out and countersunk |
then it was just a simple job to fit the unit to the car but wanted to make sure that the cap was the right way round so ,,, fitted the cap with all the gaskets as clearance s close tightened it down and placed it on the car so it was facing were I wanted it to then mark the holes
 |
| placed on the car at the angle I wanted |
I then drilled a 5mm hole and tapped it out 6mm to place a grub screw in the back ( as picture above) so it could not move over time .
Marked the holes and drilled out 5mm so I had a bit of error factor and fitted it looks good .
 |
| finished cap |
Saturday, 2 February 2019
Wipers
Tackling the wiper mounts today ,The outer edge of the rubber washers were marked at 415 mm from the windscreen stay and 5 mm from the screen rubber and the eliptical spindle holes were marked on to masking tape using the inside of the rubber washer as a guide. The centres of the holes were established and marked only to find that they were marked already by GD .Oh well at least I was right with my markings . I then checked that the distance between the holes was the same as the assembled wiper mechanism and it was within 2 mm which I figured I could lose by bending the tubing to follow the curve of the body
Drilled the holes with a small drill first as expecting it to bite which it did
after that I drilled the rest of the holes with the drill going backwards ( always amazes me how that still cuts )
once I had got to 13mm I set to with a file for the final touches .
Once the hole right the GD manual says that the spacer has to be cut down measured this and decided it was 5mm to long .
Quick drive to one of Steve's mates and a 30minute lathe job later the spacer was right .
Fitting it all was a lot more fiddly than I guessed it would be due to weight of the motor so took the motor off and just fitted the tubes with the idea of threading the motor though later.
That all went well and all lined up very well slid the motor cable up though the tubes and turned the wiper spindles to feed the cable though .all went easy .secured the motor with the bracket and after reading the manual noticed I should have put a piece of rubber between the motor and frame (did wonder what that strange bit of rubber was )
 |
| All set to drill my baby |
after that I drilled the rest of the holes with the drill going backwards ( always amazes me how that still cuts )
once I had got to 13mm I set to with a file for the final touches .
Once the hole right the GD manual says that the spacer has to be cut down measured this and decided it was 5mm to long .
 |
| original spacer |
 |
| 5mm shorter |
Fitting it all was a lot more fiddly than I guessed it would be due to weight of the motor so took the motor off and just fitted the tubes with the idea of threading the motor though later.
 |
| What a pose |
That all went well and all lined up very well slid the motor cable up though the tubes and turned the wiper spindles to feed the cable though .all went easy .secured the motor with the bracket and after reading the manual noticed I should have put a piece of rubber between the motor and frame (did wonder what that strange bit of rubber was )
 |
| fitted and happy |
 |
| motor secured (with the rubber) |
The park position of the motor will need to be checked once they run as the wipers should park on the drivers side (which may need to be altered later .
another job off he list.
Subscribe to:
Posts (Atom)